 | ||
| Your browser is not supported. | ||
|
Please browse our site using any of the following options:
| ||
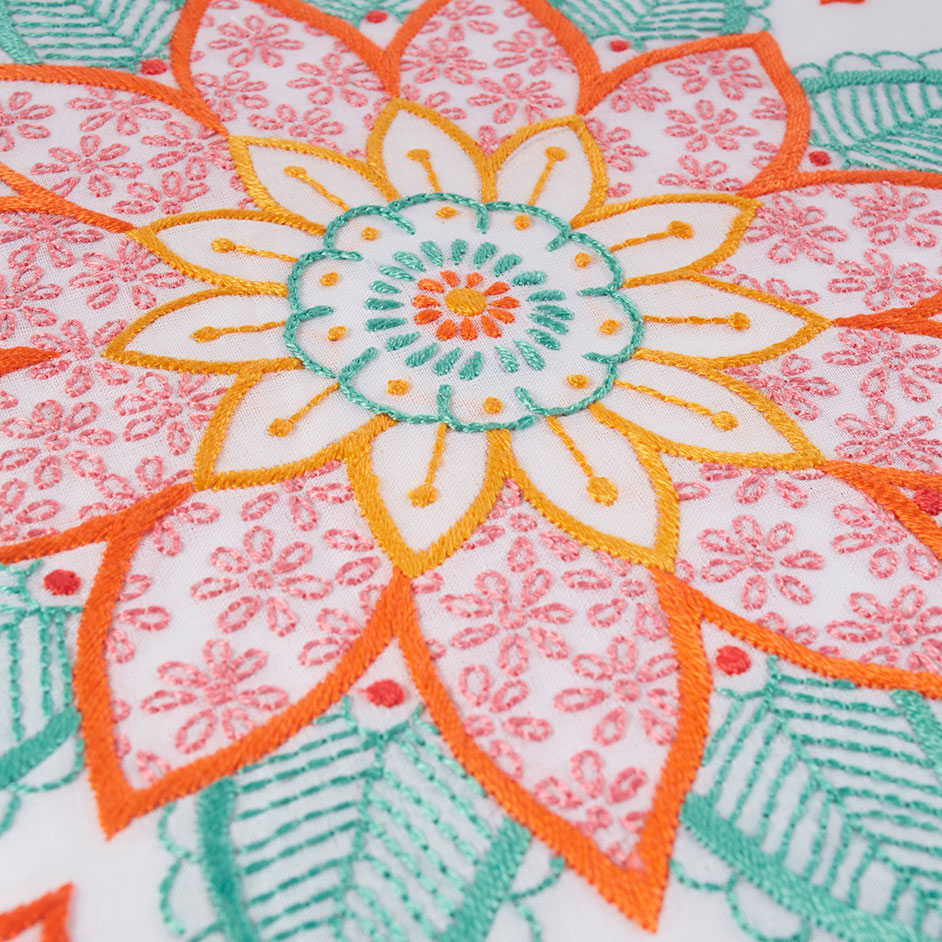
FLORAL KALEIDOSCOPE EMBROIDERY

Level: Intermediate
WHAT YOU'LL NEED
- Needle (no.12)
- Dmc mouline special art 117
- Fabric
- Magic sheet + transfer pen + transfer paper to transfer design to fabric
Thread Colours:
1 - 3801 x 2
2 - 947 x 1
3 - 741 x 1
4 - 943 x 2
5 - 899 x 1
Stitch Code Letters:
A - Satin stitch
B - Running stitch
C - French knot
D - Chain stitch
*use 2 strands
INSTRUCTIONS
Step 1 - Open your pack and find the magic paper sheet with the designs pre-printed on it. Cut around the design you want to stitch.
Step 2 - Lay your base fabric on a flat surface and place your design in the desired position. Don't be afraid to play around with the positioning, be creative !
Step 3 - When you are happy with the position, peel away the paper backing and stick your design onto your base fabric.
Step 4 - Hoop fabric and start stitching out your design following the stitch instruction illustrations. It's super easy, just follow the lines.
Step 5 - Once you have finished stitching your design, rinse your base fabric in cold water to dissolve the magic paper template and let it dry.
Step 6 - Enjoy your custom embroidered creation.
Download instrtuctions:
Step 1 - Download your design sheet, print it out. The design format is A4 so if you are printing on US letter, make sure to print at 100%.
Step 2 - Cut around the illustrations from the printed sheet and place the design you want to stitch, face side up, on a flat surface. NB: if you don't place the design face side up your design will be backwards.
Step 3 - Decide where you want your embroidery and place your base fabric on top of your design sheet and secure it using pins or masking tape.
Step 4 - Place your base fabric against an available light source i.e a window, lightbox or computer screen and trace the design onto your base fabric using a water soluble embroidery transfer pen.
Step 5 - Once you have traced the design, remove the pinned design from the back of your fabric.
Step 6 - Hoop fabric and start stitching out your design following the stitch instruction illustrations. It's super easy, just follow the lines.
Step 7 - Once you have finished stitching your design, rinse your base fabric in cold
Step 8 - Enjoy your custom embroidered creation.


