 | ||
| Your browser is not supported. | ||
|
Please browse our site using any of the following options:
| ||
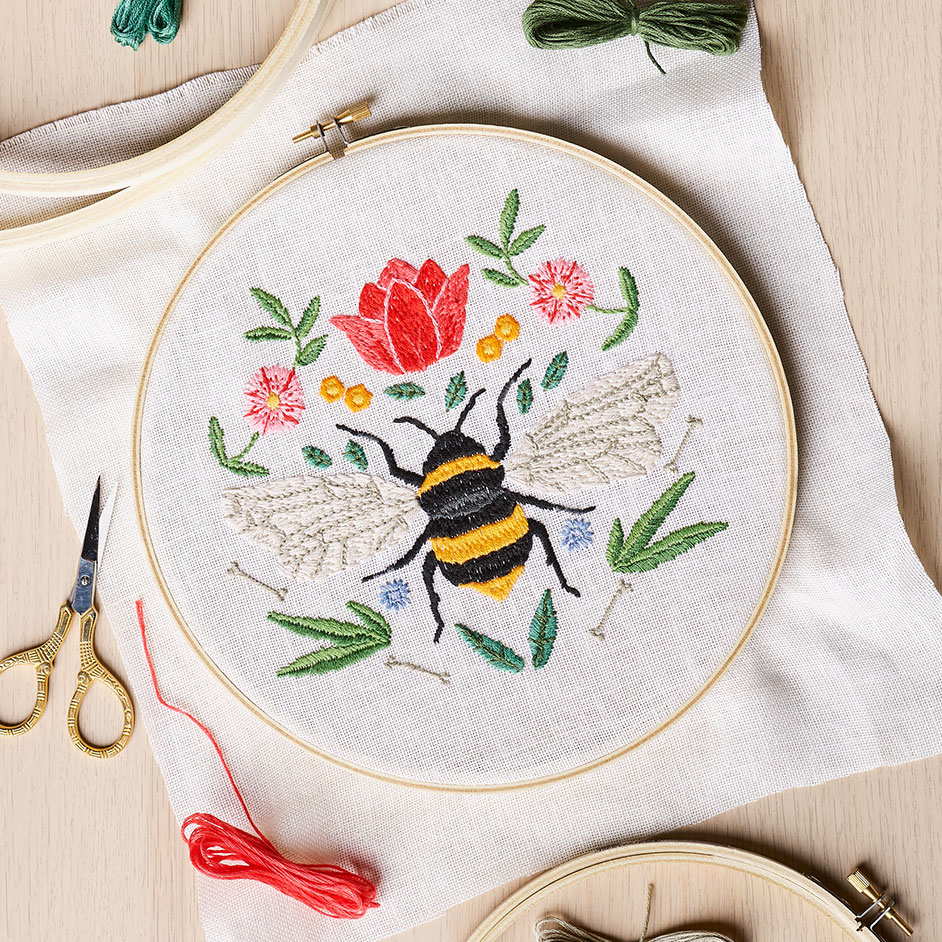
DMC BEE EMBROIDERY

INSTRUCTIONS
Stitches
- Split Stitch
- Backstitch
- Long and short stitch
- Chain stitch
- Satin stitch
Use 3 strands - Number of strands and skeins calculated for design size 17.5cm x 16.6cm
Step 1 - Download your design sheet, print it out.
Step 2 - Cut around the illustrations from the printed sheet and place the design you want to stitch, face side up, on a flat surface. Note - if you don't place the design face side up your design will be backwards.
Step 3 - Decide where you want your embroidery and place your base fabric on top of your design sheet and secure it using pins or masking tape.
Step 4 - Place your base fabric against an available light source i.e. a window, lightbox or computer screen and trace the design onto your base fabric using a water-soluble embroidery transfer pen.
Step 5 - Once you have traced the design, remove the pinned design from the back of your fabric.
Step 6 - Hoop fabric and start stitching out your design following the stitch instruction illustrations. It's super easy, just follow the lines.
Step 7 - Once you have finished stitching your design, rinse your base fabric in cold water to remove transfer pen ink.
Instructions
Stitches
- Split Stitch
- Backstitch
- Long and short stitch
- Chain stitch
- Satin stitch
Use 3 strands - Number of strands and skeins calculated for design size 17.5cm x 16.6cm
Step 1 - Download your design sheet, print it out.
Step 2 - Cut around the illustrations from the printed sheet and place the design you want to stitch, face side up, on a flat surface. Note - if you don't place the design face side up your design will be backwards.
Step 3 - Decide where you want your embroidery and place your base fabric on top of your design sheet and secure it using pins or masking tape.
Step 4 - Place your base fabric against an available light source i.e. a window, lightbox or computer screen and trace the design onto your base fabric using a water-soluble embroidery transfer pen.
Step 5 - Once you have traced the design, remove the pinned design from the back of your fabric.
Step 6 - Hoop fabric and start stitching out your design following the stitch instruction illustrations. It's super easy, just follow the lines.
Step 7 - Once you have finished stitching your design, rinse your base fabric in cold water to remove transfer pen ink.


