 | ||
| Your browser is not supported. | ||
|
Please browse our site using any of the following options:
| ||
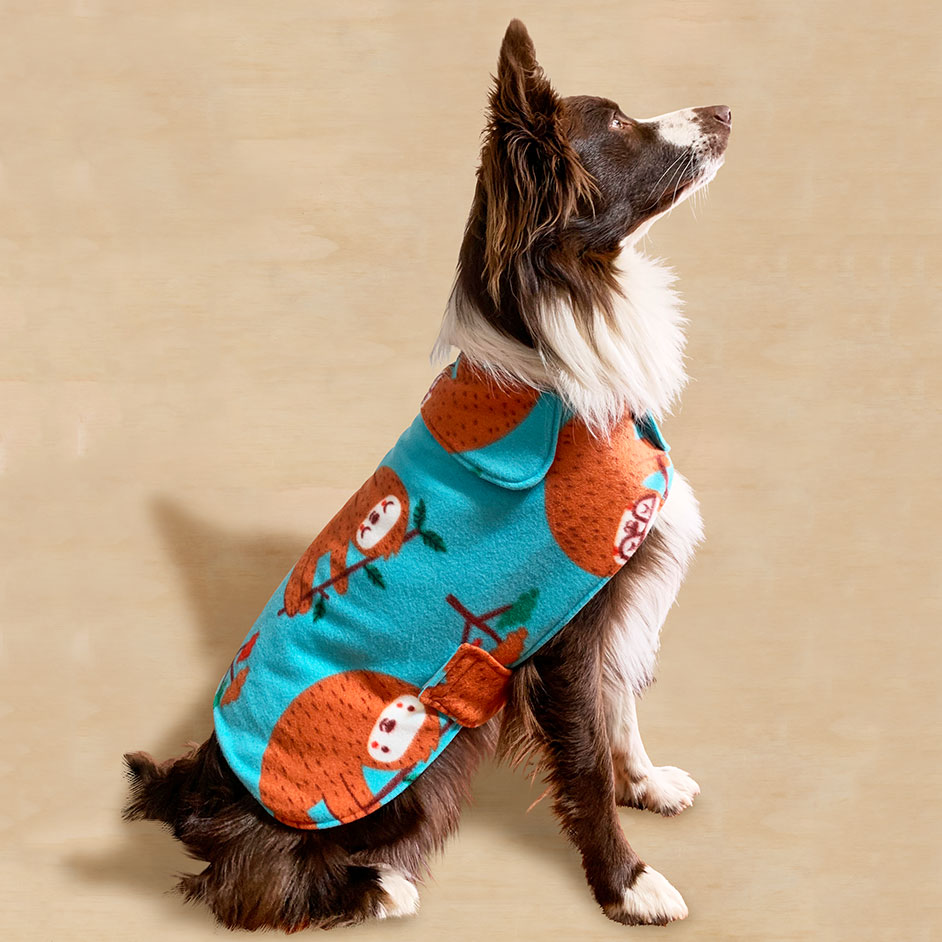
FLEECE DOG COAT

Level: Easy
WHAT YOU'LL NEED:
- Fleece fabric
- Sewing machine and matching thread
- Pencil, ruler and paper for pattern
- Pins
- Tape measure
- Velcro
INSTRUCTIONS
Step 1 - To make the pattern for this dog coat you need a few measurements of your dog. Using the tape measure, measure and record the length from their collar down the spine to where you would like the coat to finish - this will be the length.
Measure and record around the widest part of their tummy and halve it - this will be the width. And lastly measure from the middle of their collar at the centre back, down and around their neck to the middle of their chest, roughly where the jacket will close - this will be the neck measurement.
Step 2 - Using these measurements, you will want to draw up your pattern, so it looks similar to the below, we have included our measurements which were for a medium size dog (our measurements include seam allowance). Start by drawing a rectangle for the body and then adding the curved edges, if you are not confident drawing these edges free hand you can use a bowl, or anything curved to trace around. Don't forget to add extra at the end of the neck pieces to allow for the overlap of the Velcro, we added 8cm.
Step 3 - To create the collar, draw your collar shape onto your finished jacket pattern so you can see exactly where you want it to sit and how it will look. Trace this off onto another piece of paper and add a 1cm seam allowance to the pattern. Then lastly create the belly band for your dog, by drawing a rectangle 10cm wide x half the width.
Step 4 - Once you have all your pattern pieces created lay them out on your fleece, the body and colour will be on the fold, notch the centre of both. Cut 2 Pieces of the body and collar and 1 of the band. Overlock or zigzag the edges.
Step 5 - Take your collar pieces and place together with right sides facing in. Pin and sew around the outside edge of the collar with a 1cm seam allowance. Use scissors to snip into the seam allowance on the curved edges, this will help the curves sit neatly. Turn the collar right side out and top stitch along the outside roughly 5mm from the edge.
Step 6 - Fold the belly band piece in half lengthways with right sides facing in. Pin then stitch together with a 1cm seam allowance leaving one of the ends open. Turn the band right side out through the open end and again top stitch the edges with a 5mm seam allowance. The raw end will be encased in the seam of the main body.
Step 7 - Now it's time to assemble the coat. Place the main body pieces together with right sides facing in. Sandwich the collar piece in between the layers and pin in place, matching the notches. Pin and sew around the entire coat edge with a 1cm seam allowance but leave a section open where you want the belly band to be positioned. We measured halfway along the centre back of the jacket and left 10cm open.
Step 8 - Once the coat has been sewn together, use scissors to snip into any of the curved seam allowance. Turn coat right side out through the opening.
Step 9 - Place the raw end of the belly band into the opening on the coat and pin in place. Then top stitch around the entire edge of the coat with a 5mm seam allowance, this will close the opening and secure the belly band in place.
Step 10 - Cut 2 pieces of Velcro for the neck and belly band and sew in place to finish!


