 | ||
| Your browser is not supported. | ||
|
Please browse our site using any of the following options:
| ||
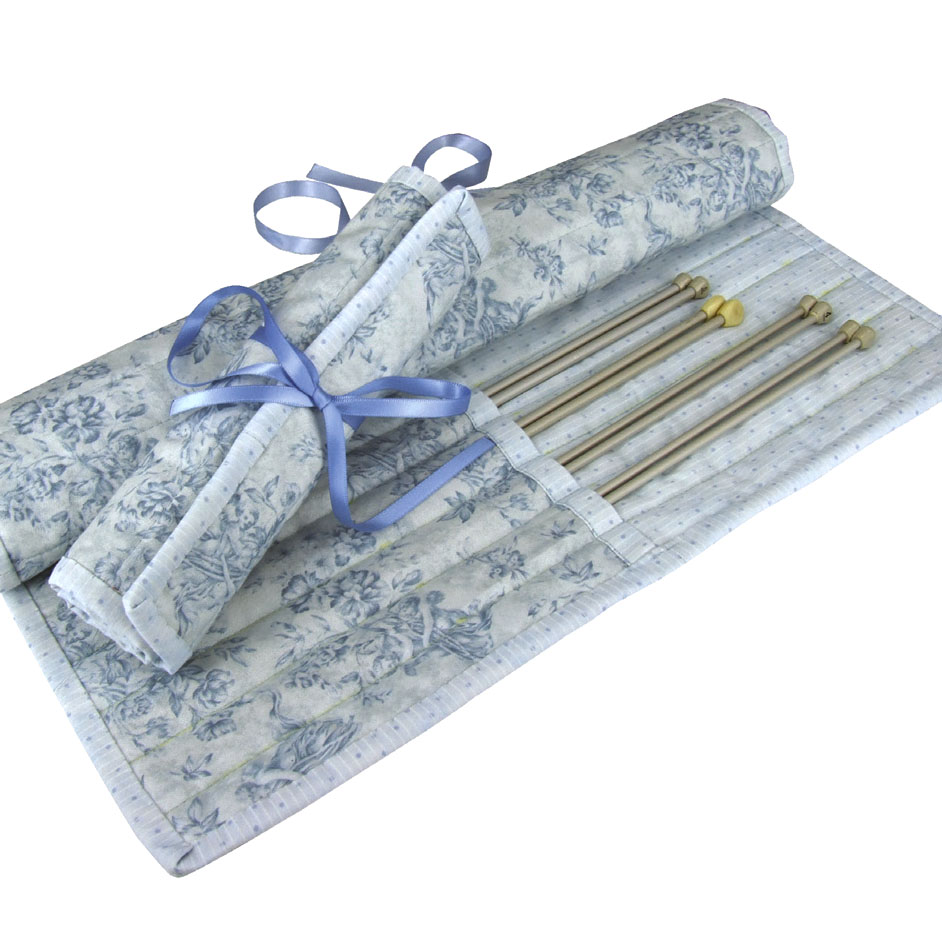
BROTHER KNITTING NEEDLE

LEVEL: EASY
WHAT YOU'LL NEED:
- 1 x 18" (45cm) fabric 1
- 1 x 21.6" (55cm) fabric 2
- 201/2" x 16" (52 x 40cm) iron on light pellon
- 1 x 1metre (100cm) matching ribbon
- 'Brother' Sewing Machine
- 'Brother' Walking foot and guide
- Iron
- General sewing supplies
- Cutting Mat, Ruler and Cutter (optional)
INSTRUCTIONS
PREPARATION
From fabric 1 cut:
- 1 x 20 1/2" x 16" (52 x 40cm) piece for the front
- 1 x 20 1/2" x 8" (52 x 20cm) piece for the pocket
From fabric 2 cut:
- 1 x 20 1/2" x 2" (52 x 5cm) strip for the pocket binding
- 2" x 2" (5 x 5cm) strip for binding (42inch)
- 1 x 20 1/2" x 16" (52 x 40cm) piece for the lining
CONSTRUCTION
Step 1. Prepare the pocket binding press 1/4" (0.63cm) on both sides, then press in half lengthways. Sew to the top of the pocket piece.
Step 2. Sandwich the pellon between fabric 1 and 2 press together with a hot iron place the pocket piece, aligning the bottom edges - pin in place to secure.
Step 3. Using a fabric marker and ruler, mark the pencil pockets. Starting from the left side allow 1 1/4" (3cm) for the first pocket and then 1" (2.54cm) apart for the remaining 19 pockets.
Step 4. With the walking foot attached use a straight stitch at a length of 3 to stitch through all three layers following the guidelines as previously marked.
Step 5. Sew the binding onto the front of the roll using a 1/4" (0.63cm) seam and mitring the corners as you stitch. Turn the binding to the inside and slip stitch the binding in place.
Step 6. Attach the ribbon - fold in half and secure with machine straight stitch as shown in diagram 4.


