 | ||
| Your browser is not supported. | ||
|
Please browse our site using any of the following options:
| ||
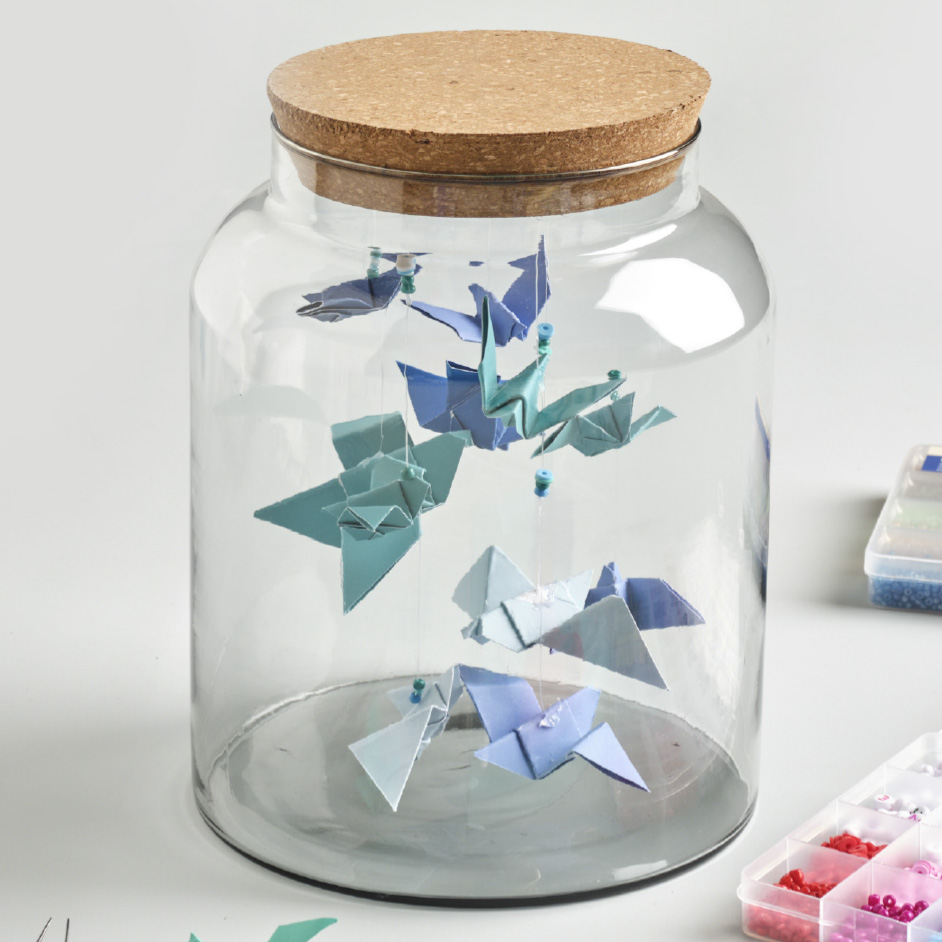
ORIGAMI CRANES BELL JAR

Level: Easy
What You'll Need:
- Crafters Choice Glue Gun (High Temp)
- Crafters Choice Glue Sticks (High Temp)
- Any Glass Mason Jar, we have used the 1L Mason Preserving Jars
- Any thick thread and needle
- Crafters Choice Paper Pads 12 x 12 in and 6 x 6 in
- Beads (optional)
Tension
18 sts x 24 rows to 10cm over stocking st, using 4mm needles.
INSTRUCTIONS
Step 1: Setting Up
- For the 1L jar, we have made 18 origami birds. Depending on the size of your jar you can vary the quantity of your birds
- Decide the colours you want your birds to be and put them together
- Cut the paper into 6 x 6in squares and for smaller birds make them 4 x 4in.
- Cut 6 threads of 20cm length
Step 2: Making Origami Birds
- Fold the top point of the paper down to the bottom point and crease well
- Fold the top edge down about halfway.
- Flip the paper over to the other side.
- Fold one layer of the front flap up, from about the middle of the section behind.
- Fold the left section over to the right, aligning the wings together.
- Fold the right section back over to the left, leaving a gap. Notice the triangular section aligns with the edge underneath.
- lip the paper over to the other side from left to right.
- Fold the left section over to align with the right section.
- Now you can create a beak shape for the origami bird
- Fold a 'beak shape' over.
- Open the beak shape out and reverse fold it inside.
- Flatten the head and beak and the origami bird is complete.
Step 3: Putting Jar Together
- Repeat Step 2 18 times to get 18 birds.
- Thread 3 birds onto each of the 6 threads, using glue gun.
One bird will be glued to the bottom, one in the middle and the one roughly 6 to 10 cm from the top. - Use varying positions of the birds to create an even spread.
- If using beads, then thread the beads and then using glue guns stick them to the base thread.
- Now on the lid, mark 6 points where you would like to glue your threads.
- Carefully glue all threads and close the lid
Your bird Mason jar is ready!


