 | ||
| Your browser is not supported. | ||
|
Please browse our site using any of the following options:
| ||
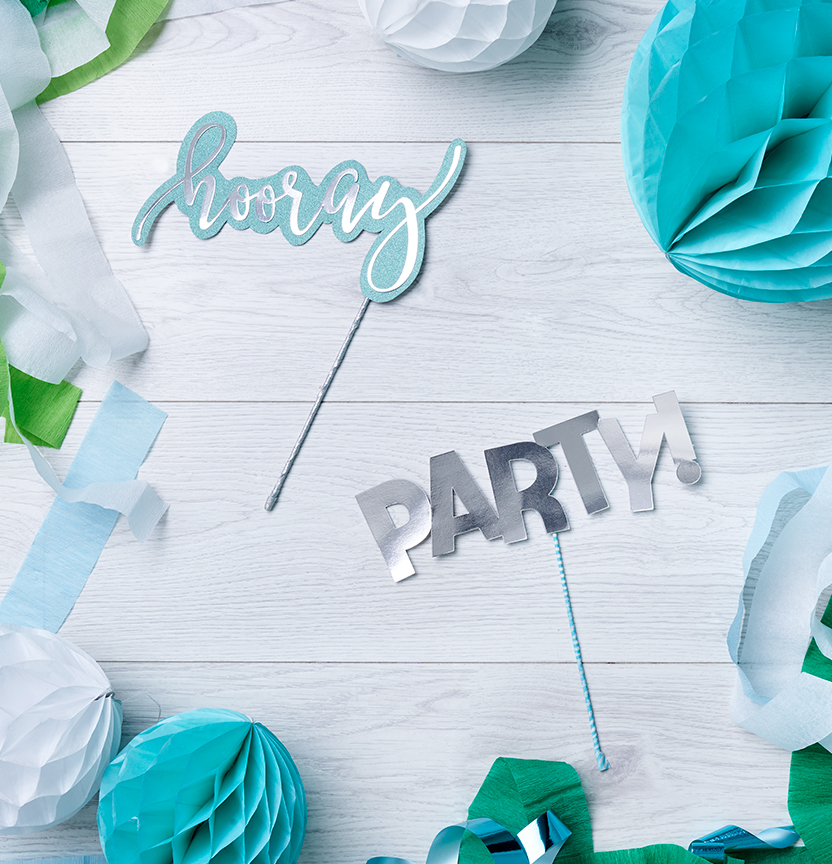
CRICUT PHOTOBOOTH PROPS

LEVEL: EASY
WHAT YOU'LL NEED:
- Cricut Machine
- Assorted glitter paper or card
- Arbee Jumbo Stick and Dowel Natural Pack
- Washie Tape
- Hot glue gun and glue sticks
INSTRUCTIONS
Step 1 - Log onto the Cricut App on your phone or desktop.
Step 2 - On the "Canvas" page select the "Image+" button and in the top right hand corner you can search for words or images of your choice.
Step 3 - Once you have chosen your design insert it onto your canvas and decide on the size and shape.
Step 4 - Once you are set on the design, select the green "Make it" button in the bottom right hand side and follow the step by step instructions to cut out your design.
Step 5 - While your design is being cut out, decorate the dowel sticks with washie tape to match your theme or colours.
Step 6 - When your dowel and design are both complete, attach the dowel to the back of the card using the hot glue gun to secure in place.
Step 7 - Repeat this process with other designs to create your own set of photo booth props.


