 | ||
| Your browser is not supported. | ||
|
Please browse our site using any of the following options:
| ||
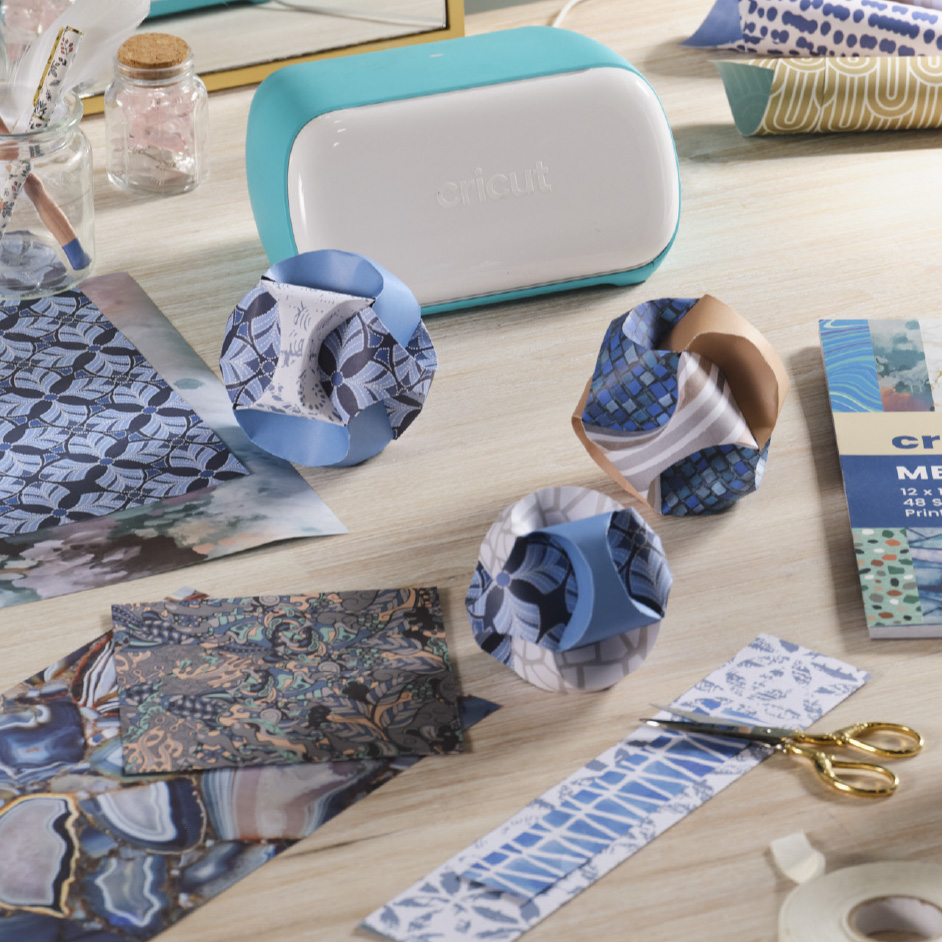
CRICUT JOY PAPER ORNAMENTS

INSTRUCTIONS
Step 1 - Set up The Joy machine (if using) or Print out the template provided in the downloadable project sheet
Step 2 - Add Scoring Tip if available.
Step 3 - The orb is made up of 3 strips. Cut out each strip and score on the dotted lines using a blunt pen tip or needle.
Step 4 - If using a craft machine then simply remove excess paper.
Step 5 - Using Crafters Choice glue gun, seal of the ends of 2 strips to create 2 loops.
Step 6 - Now put one circle inside the other and align scored lines.
Step 7 - Ensure all scored lines are visible!
Step 8 - Loop your third strip in as shown
Step 9 - Glue the ends of the third loop.
Step 10 - It should end up looking like a ball.
Step 11 - Align all your scoring lines and start folding along the lines.
Step 12 - It is a good idea to do opposing sides of the same strip to make it easier to fold.
Step 13 - Your paper orb is ready!
Note - The template size can be varied and adjustable. Try printing it in A4 and A3 to get different sizes of the orb!


