 | ||
| Your browser is not supported. | ||
|
Please browse our site using any of the following options:
| ||
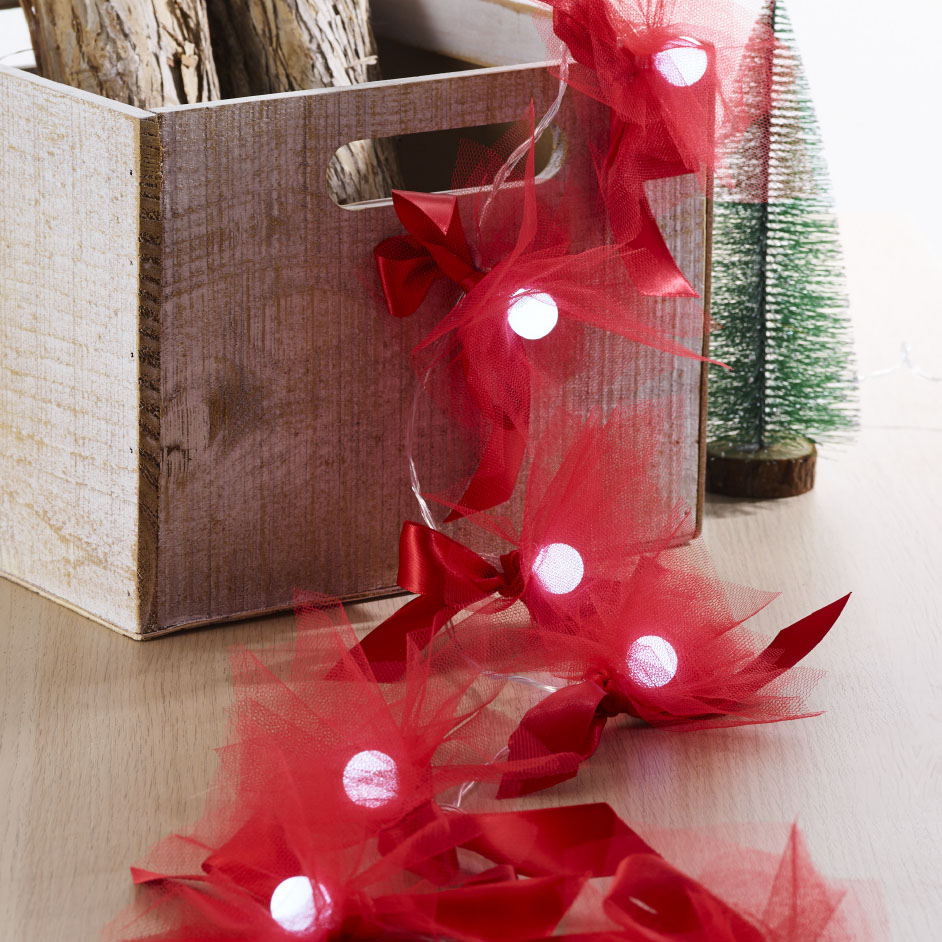
TULLE FAIRY LIGHTS

LEVEL: EASY
WHAT YOU'LL NEED:
- String of LED fairy lights
- Red tulle
- Red satin ribbon, approx. 15mm wide
- Red sewing thread
- Scissors
- Glue gun and glue
Note - The amount of tulle and ribbon you will need will depend on the length of your fairy lights and how many individual lights are on it.
INSTRUCTIONS
Step 1 - Step 1 - Cut your tulle into 10cm squares. You will need 6 squares per fairy light.
Step 2 - Take 6 squares of tulle and stack them on top of each other. Fold them in half, and use your scissors to cut a small slit at the mid-point of the folded edge. This slit only needs to be large enough for a single fairy light to fit through.
Step 3 - Take the first fairy light on your strand, and thread the 6 tulle squares onto it. Arrange them so that they are positioned at different angles, and no longer sitting squarely on top of each other.
Step 4 - Pinch the tulle around the base of the fairy light so that it gathers in and begins to look like a tutu or a flower. Secure it in place by wrapping sewing thread around it several times and tying it off with a tight knot. Don't worry if it looks a little messy where you have tied it as this will be covered up in the next steps.
Step 5 - Cut a piece of ribbon measuring approximately 20cm, and tie it in a bow around the place where you gathered and secured your tulle.
Step 6 - Add a dot of hot glue to your bow to keep it in place.
IMPORTANT - Do not allow the hot glue to come into contact with the lights' wiring as this may damage the lights. Instead, apply glue carefully on the ribbon and tulle.


