 | ||
| Your browser is not supported. | ||
|
Please browse our site using any of the following options:
| ||
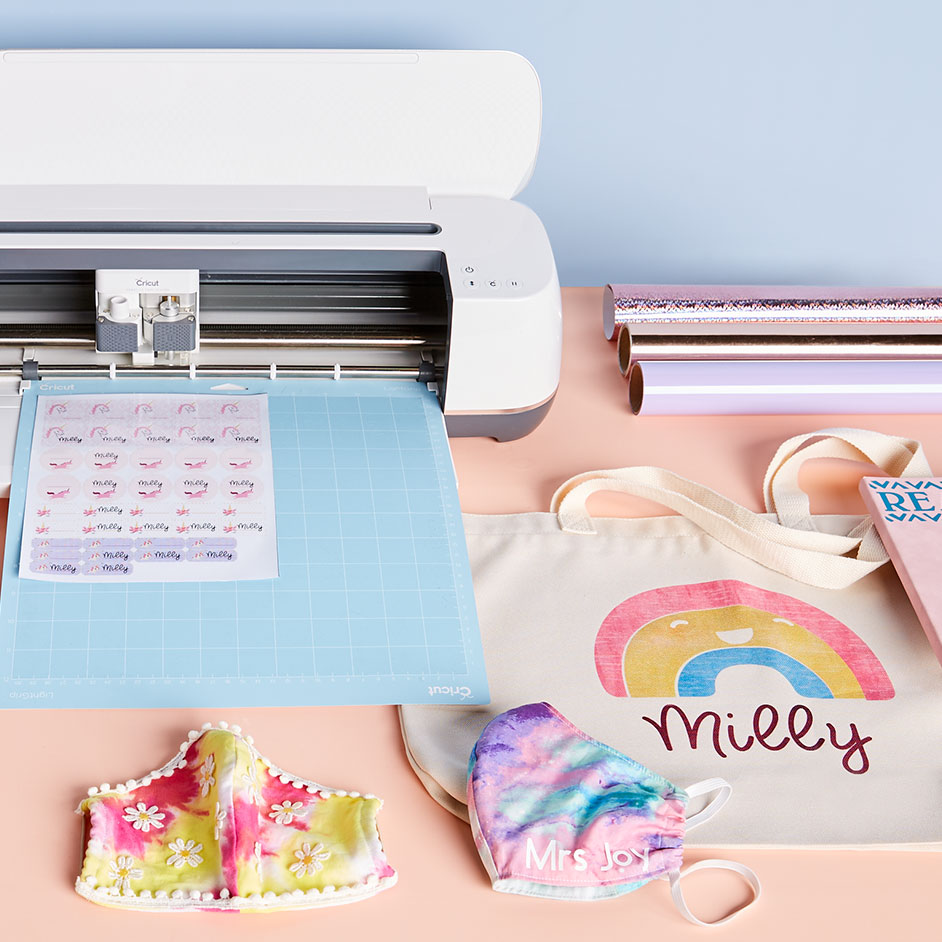
PERSONALISED NAME STICKERS & BOOK BAG

Level: Easy
WHAT YOU'LL NEED:
Vinyl Stickers
- Cricut Maker or Explore Air 2
- Design Space Application
- Printable Vinyl
- StandardGrip Machine Mat - 12" x 12"
- Printer
Personalised Bag
- Cricut Maker Machine or Cricut Explore Air Machine
- Design Space Apps
- Materials to Cut - Infusible Ink Paper of your choice
- Cricut EasyPress 2
- Cricut EasyPress Mat
- Cricut Heat Resistant Tape
- StandardGrip Machine Mat - 12" x 12"
- Lint roller
- Butcher paper
- Tweezer
- Scissors
- Weeding tools
- Blank tote - we used the Plain Polyester Canvas Tote Bag
INSTRUCTIONS
VINYL STICKERS
Step 1 - If you subscribe to Cricut Design Space access, search this projects name. SPOTLIGHT Back to School - DINO, SPOTLIGHT Back to School - UNICORN
Or follow the below link:
STICKER - DINO: https://design.cricut.com/landing/project-detail/5f7ee6b631751a0e502499cb
STICKER - UNICORN: https://design.cricut.com/landing/project-detail/5f7ee6962b6927077ce453b2
Step 2 - Click customize to add your text by using the text tool, and a favorite font.
Step 3 - Make sure your font is on print and not cut, then flatten it to the design and send to print by clicking the green Cricut in the toolbar.
Cut
Step 4 - After the design prints on the vinyl, place it on the cutting mat and send into the explore to cut.
Assemble
Step 5 - Once the design is cut, weed them out, and start sticking them to books!
PERSONALISED BOOK BAG
PREPARATION
Step 1 - If you subscribe to Cricut Design Space access, search this projects SPOTLIGHT CRAFTERS CHOICE back to school tote bag
Or follow this link: https://design.cricut.com/landing/project-detail/5f8b8a433309a707c07e8c29
Step 2 - If you want to alter the project, select Customize, then use the tools in the Edit panel to make changes before you cut. Otherwise click Make it
CUT
Step 1 - Be sure to Mirror the mat when using an Infusible Ink Transfer Sheet and place the shiny side (clear liner) down on the mat.
Step 2 - Follow the prompts in Design Space to cut the images from the Infusible Ink Transfer Sheet.
ASSEMBLE
Step 1 - Follow the listed stacking order.
Stacking Order:
- Cricut EasyPress 2
- Butcher paper
- Infusible Ink Transfer Sheet design, face down
- Cricut Tote Bag Blank
Inside Cricut Tote Bag:
- White cardstock (80 lb) or 4 layers butcher paper
- Cricut EasyPress Mat
Other Supplies:
- Lint roller
- Tweezers
Not recommended without Cricut EasyPress Mat.
Step 2 - PREPARATION
- Preheat Cricut EasyPress 2 to 195C
- Place mat inside tote bag
- Insert cardstock on top of mat inside tote bag to prevent bleed through
- Lint roll tote bag
- Cover tote bag with butcher paper larger than heat plate
- Preheat tote bag for 15 s
- Remove butcher paper from top of tote bag
Step 3 - APPLICATION
- Place design face down, liner side up
- Cover with clean butcher paper larger than heat plate
- Press with light pressure at 195C for 40 s
- Slowly lift press
- Slowly remove butcher paper
- Slowly remove liner while warm
Note: If transfer sheet remains on shirt, remove with tweezers.
Step 4 - CARE
- Machine wash inside out with cold water and mild detergent
- Tumble dry low or line dry
- Do not use fabric softener, dryer sheets, or bleach


