 | ||
| Your browser is not supported. | ||
|
Please browse our site using any of the following options:
| ||
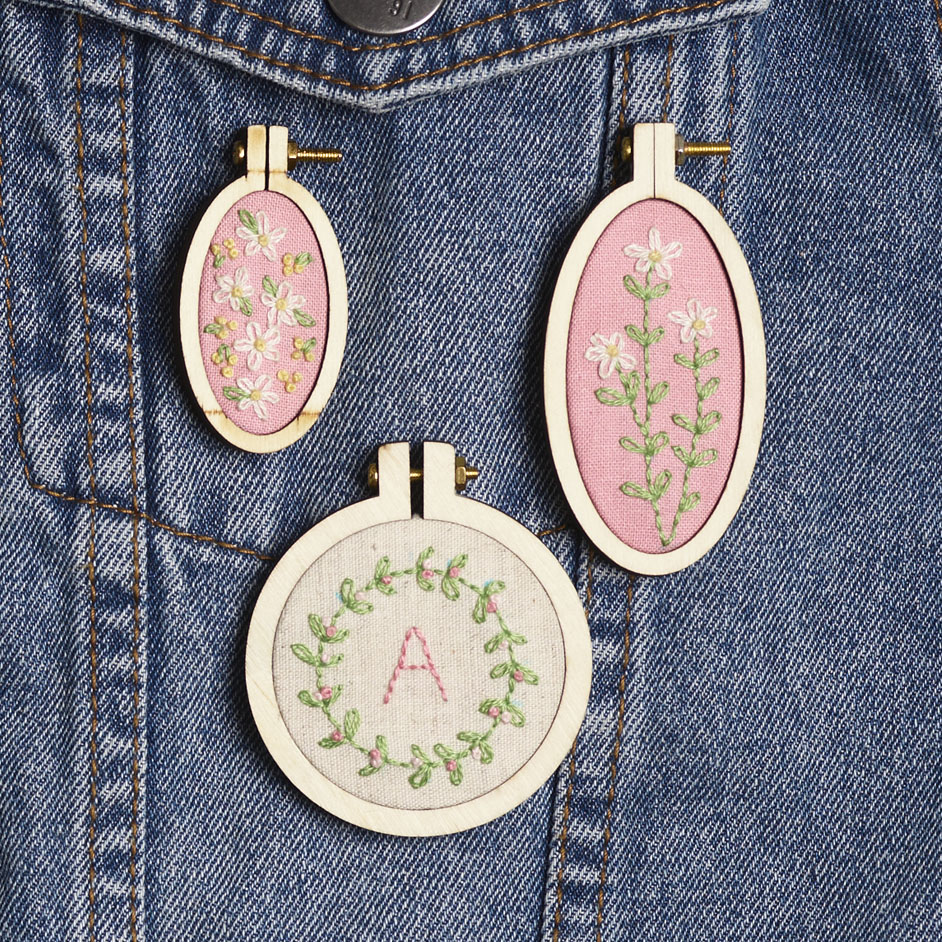
MINI EMBROIDERY HOOPS

LEVEL: EASY
WHAT YOU'LL NEED:
- Mini embroidery hoops
- Regular embroidery hoop
- Cotton fabric
- Embroidery floss
- Embroidery needle
- Scissors
- Erasable fabric pen
- Hot glue gun
INSTRUCTIONS
Step 1. Remove the inner discs from the mini hoop and set them aside.
Step 2. Take your fabric and place it in your embroidery hoop.
Step 3. Use your marker to trace around the inside of your mini hoop. This will give you the correct area for stitching in.
Step 4. Draw the design of your choice inside the area.
Step 5. With two strands of embroidery floss, stitch over the design*. We used backstitch, lazy daisy and French knots for ours.
Step 6. Remove your fabric from the hoop, and cut around your design leaving a 1cm border.
Step 7. Take one of the inner discs, and centre your design over it. Then carefully place in the mini hoop. Pushing through from front to back works best.
Step 8. Tighten nut on the hoop.
Step 9. Use your hot glue gun to apply a generous line of glue behind the inserted design. Be sure to catch the back edges of the fabric as well as the back of the disc.
Step 10. Tuck the edges of the fabric down and place the second inner disc on top to hold everything in place.
TIP: For more intricate and delicate designs, use a single strand of floss.


