 | ||
| Your browser is not supported. | ||
|
Please browse our site using any of the following options:
| ||
Your Guide to Soft Pastels

Looking for a medium that is colourful, fun and easy to use? Pastels may bring to mind a child drawing at school, but soft, hard and oil pastels are the tools of the trade for many professional artists, and can be used to create absolutely stunning works of art.
Today we will be diving into the world of soft pastels, including what they're made of, what you need to work with them and even some inspirational ideas that both beginner and expert artists can take advantage of. We hope you'll take our soft pastel ideas and techniques to heart, and start your own artistic journey with this gorgeous medium!
Quick Links
- What are soft pastels?
- What do I need for drawing with soft pastels?
- What can I draw on with soft pastels?
- Soft pastel techniques for beginners
- Soft pastel drawing ideas for beginners
- Soft pastel techniques for experts
- Soft pastel drawing ideas for experts
- Do I need a fixative for my pastel art?
What Are Soft Pastels?
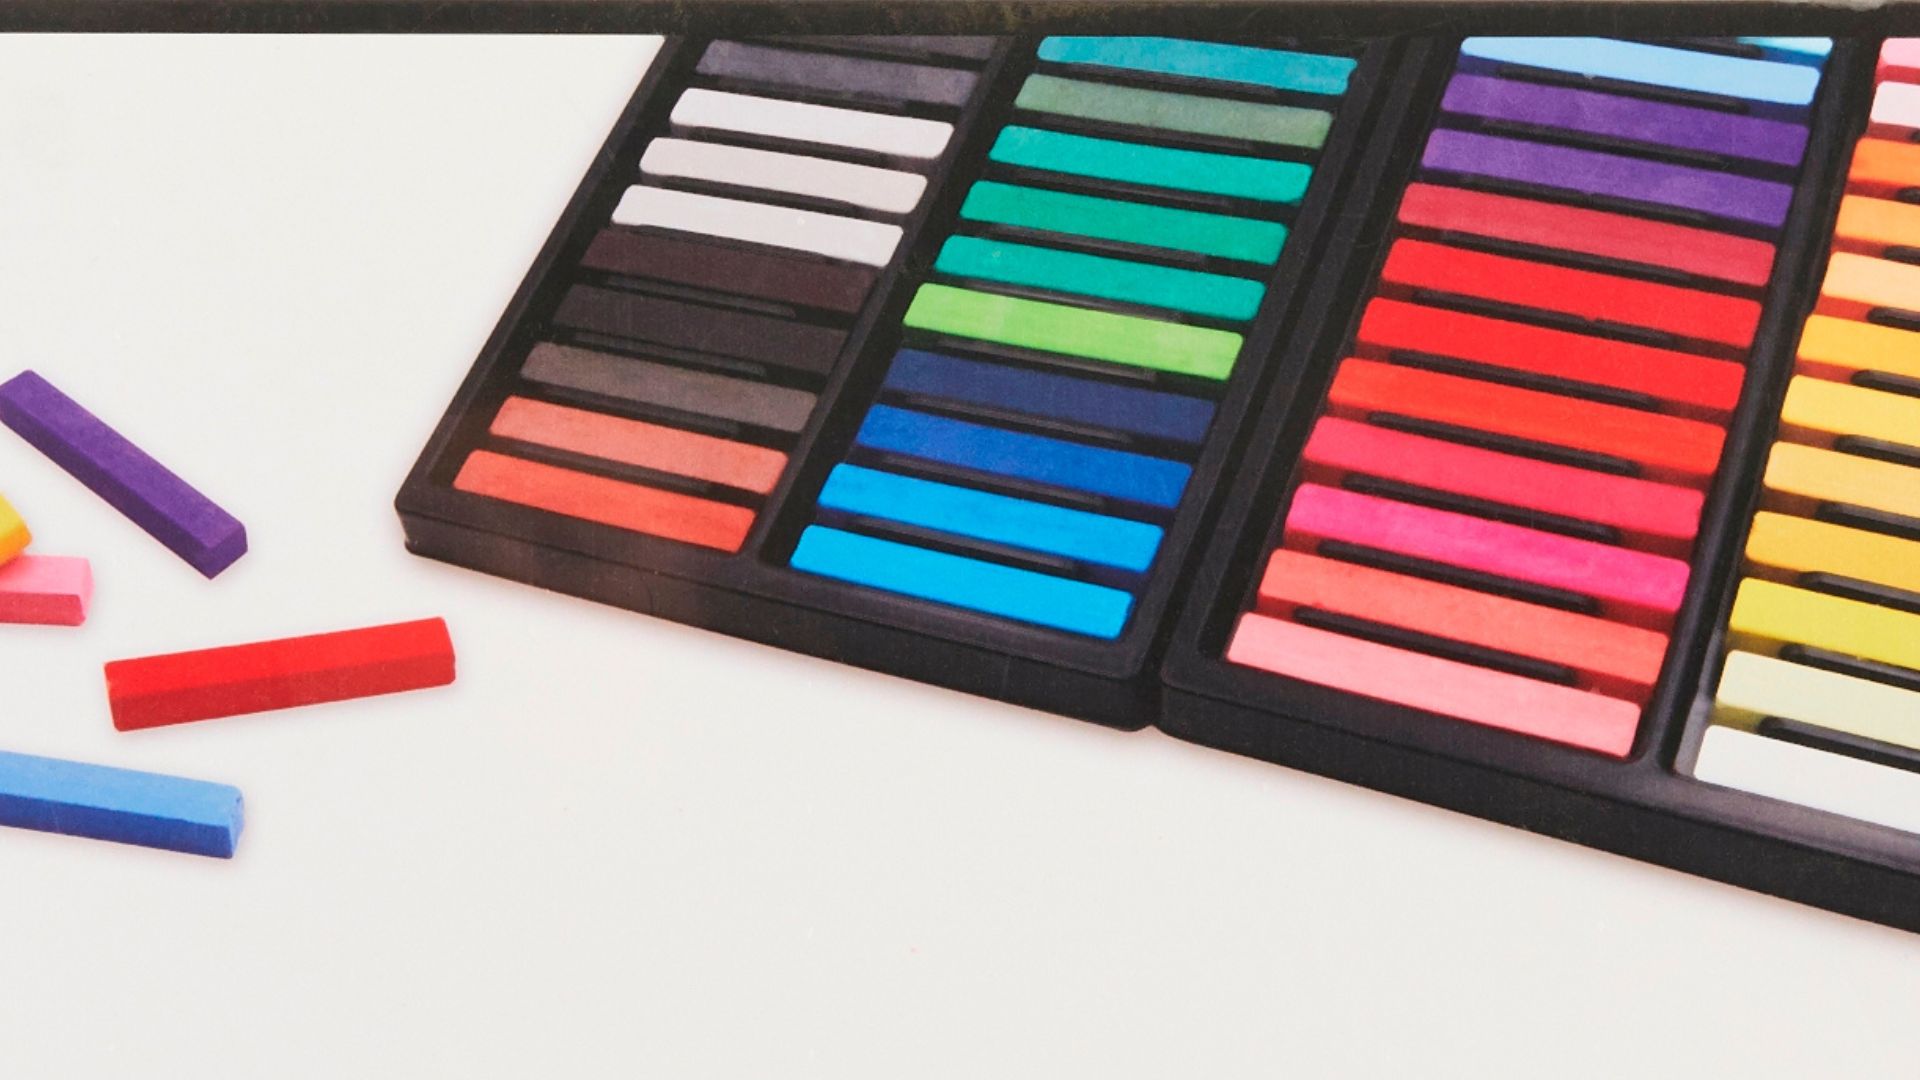
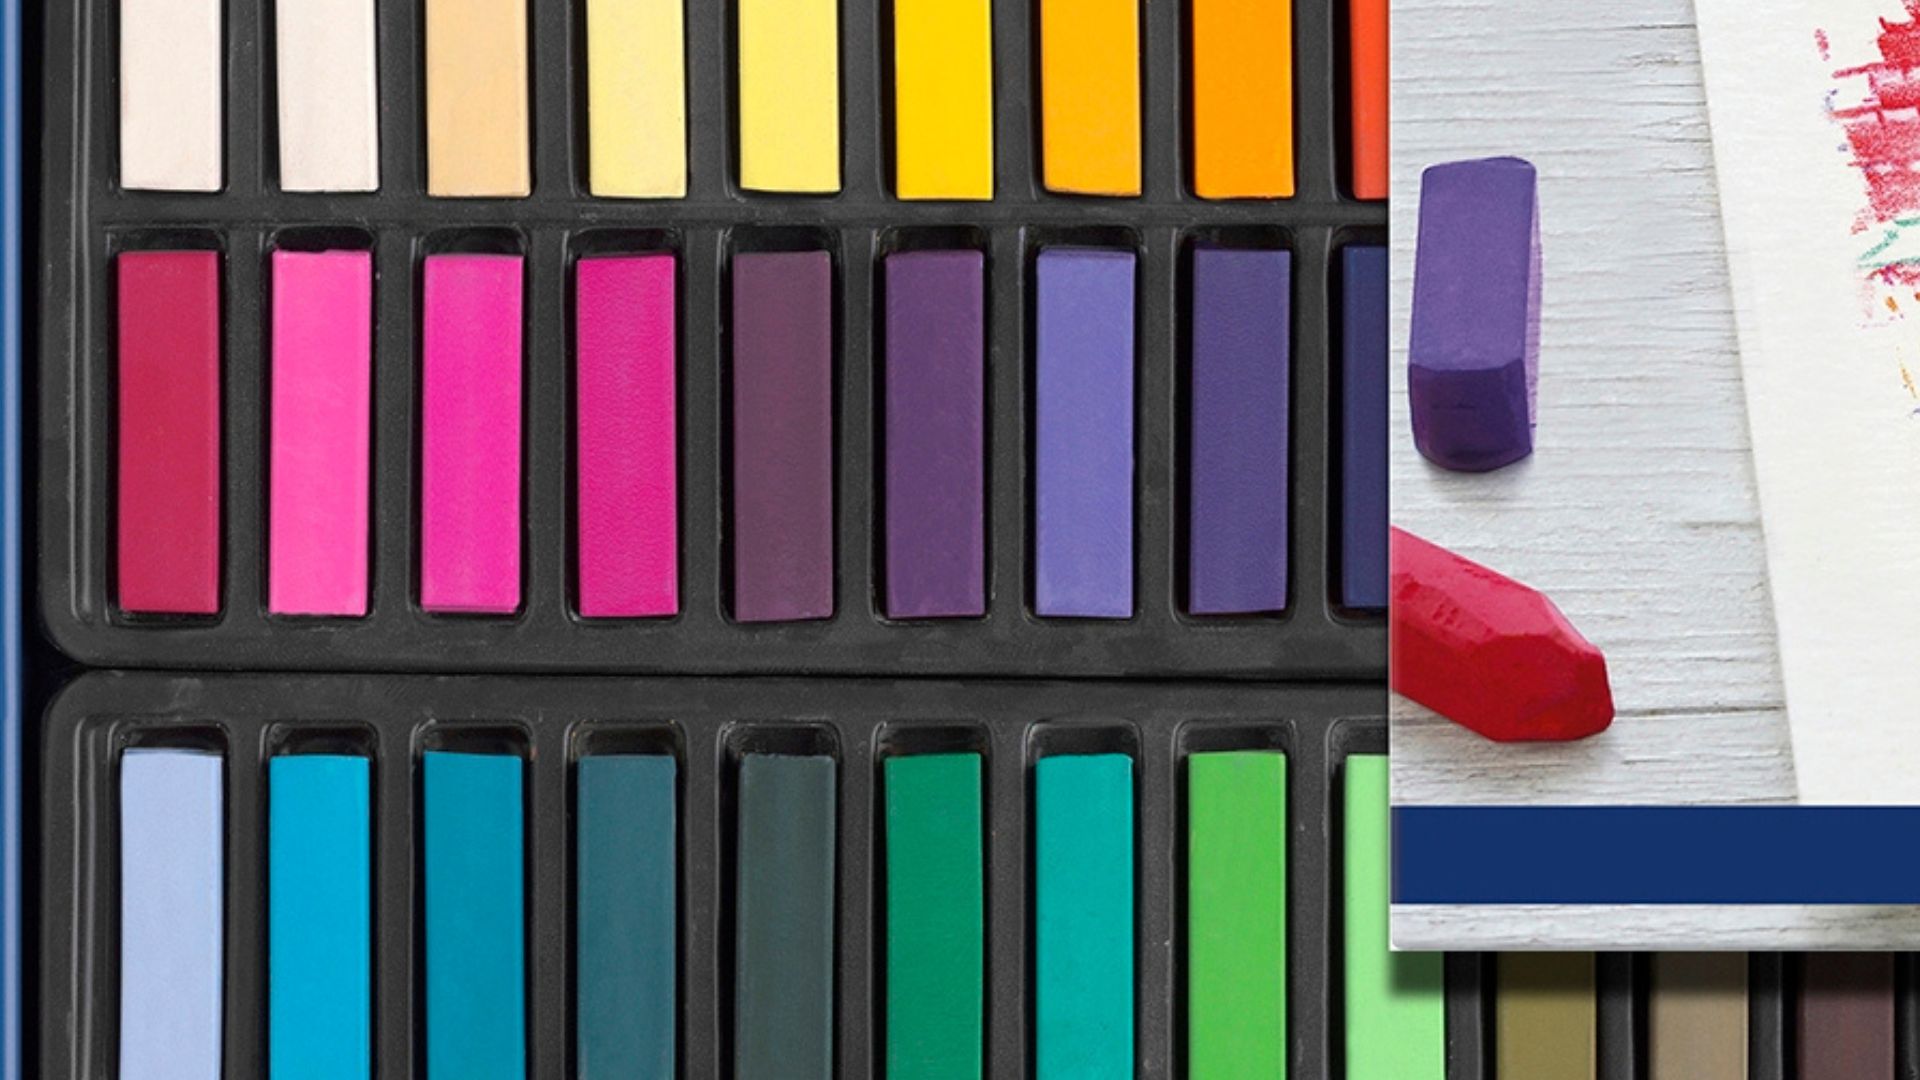
Soft pastels are small sticks of colour you can use as a dry medium on any dry, solid and toothy surface. Soft pastels are made of pigment, water and gum or another binding agent. The more pigment in the pastel, the more brilliant the colour (and the more expensive it will be). This also means that pastels with less binder will be more fragile and prone to crumbling, making higher-grade pastels a little trickier to use. The good news is, pastels can be used in heaps of ways, including when they've been broken, crumbled and even ground into dust.
Soft pastels cannot be blended like oil pastels, so to make up for this they are available in hundreds of different colours! If you are just starting out with pastels it's always a good idea to buy a starter set with all your basic colours, and then you can buy single pastels to fill out your collection from there.
What Do I Need For Drawing With Soft Pastels?
When making art with soft pastels, you don't need much!
- Soft pastels - the brighter the colour, the crumblier the pastel.
- Paper, board or another drawing surface - choose a surface with tooth and texture.
- Gloves - help keep the pigment from getting on your hands.
- Mask (if indoors in a poorly ventilated room) - soft pigment pastels can create dust that you don't want to breathe in.
- Easel - painting on an angle will let pastel dust fall to the bottom of the frame, rather than gathering on your drawing.
What Can I Draw On With Soft Pastels?
You have a few choices when it comes to choosing the surface you want to draw on with your soft pastels.
- Paper - the most common choice, but you need to choose the right kind of paper before you begin. Soft pastel techniques can be quite rough on paper, so you'll want thick paper that can take some punishment. Choose a rough paper that is toothy, so your pastel colour will be easy to adhere and will stay on the paper as well.
- Board - you can find wooden boards that have been covered or wrapped in a toothy surface that are perfect for the harder pastel techniques, as they're strong and can take some force.
- Canvas - canvas gives you a professional material to draw on, but make sure to look for an unprimed canvas, as it will give you the toothy grip pastels need. A primed canvas is usually covered in gesso, which makes for a smoother surface that your pastels just won't stick to.
Pastels are like the advanced form of chalk, so you can even use them on the sidewalk if you want to! Just be ready for your artwork to be washed away on the next rainy day.

Soft Pastel Techniques For Beginners
When starting out as a pastel artist, there can seem to be a lot of different techniques you need to wrap your head around! But there are two we'd definitely recommend learning first:
- Blending colours - learning how to blend soft pastels is a cornerstone for using this medium. You can create smooth gradients between colours by blending as you apply your soft pastels to your surface - muse your fingers or a tool like a tortillon to blend the border between similar colours together, creating a smooth and soft transition.
- Layering colours - creating layers of colour can help you make more natural colours in your artwork, as many things in nature are more than just one simple colour. You can cover colours completely or allow bits of your base colour to show through the top layer to help create complex compositions. Colours will naturally blend as you layer, so keep this in mind as you work so your colours don't become muddy.
Soft Pastel Drawing Ideas For Beginners
Beginners can try any of these easy soft pastel art ideas for their first drawing:
- Ocean - there are heaps of beautiful shades of blue in most soft pastel series, making creating a magical ocean scene easy. Use dark blues, purples and maybe even a black to showcase the ocean depths, and blend to lighter colours at the top of your page. You can use a crisp white to create some small bubbles or the crest of waves if you are illustrating the surface of the water, and even use warmer pinks and greens to showcase things like seaweed and coral. Make sure to use your layering techniques to ensure your colours are applied correctly!
- Sunset - you can blend whites, yellows, oranges and reds to create a stunning sunset picture, or even add pinks and purples to create a more twilight-esque image. You can also use black pastel to create silhouettes of things like buildings, trees or animals in the foreground to contrast against the colours.
- Flowers - given their enormous diversity, creating flowers using soft pastels is a fantastic opportunity for you to use your favourite pastel colours and techniques. Use layering to showcase the many complimenting colours in a flower, and make sure to blend your background colours so your flowers stand out!
Soft Pastel Techniques For Experts
If you think you've mastered the basics of soft pastel art, give these more difficult techniques a try!
- Scumbling - despite the funny name, scumbling is quite a useful technique for pastel artists to know. To 'scumble' is to lighten or tint an area of an artwork with a thin application of a lighter colour - in pastels this is done by lightly dragging the long edge of your pastel over your colours. This will produce a subtle but grainy effect that is perfect for depicting a textured atmosphere and will create a sense of depth in your artwork.
- Dusting - one of the more unique soft pastel techniques, dusting doesn't actually involve putting pastel to paper. Dusting will create a glimmering, fascinating texture on your artwork. If you ever blended your pencil shavings with your fingers onto paper as child, this technique works in a very similar way! Simply use a knife, sandpaper or wire screen to shave 'dust' off your soft pastel and onto your page paid flat. You can then press the dust into your artwork using the flat edge of a painting knife, another sheet of paper or even your fingers.
Soft Pastel Drawing Ideas For Experts
Once you have practised your advanced soft pastel techniques, try any of these soft pastel art ideas:
- Mountains - create an impressive landscape featuring a range of peaked mountains to show off your soft pastel artistry. You can use scumbling to simulate the grassy, rocky texture of the mountainside, and dusting is a lovely way to mimic fresh snowfall on the peaks of your mountains.
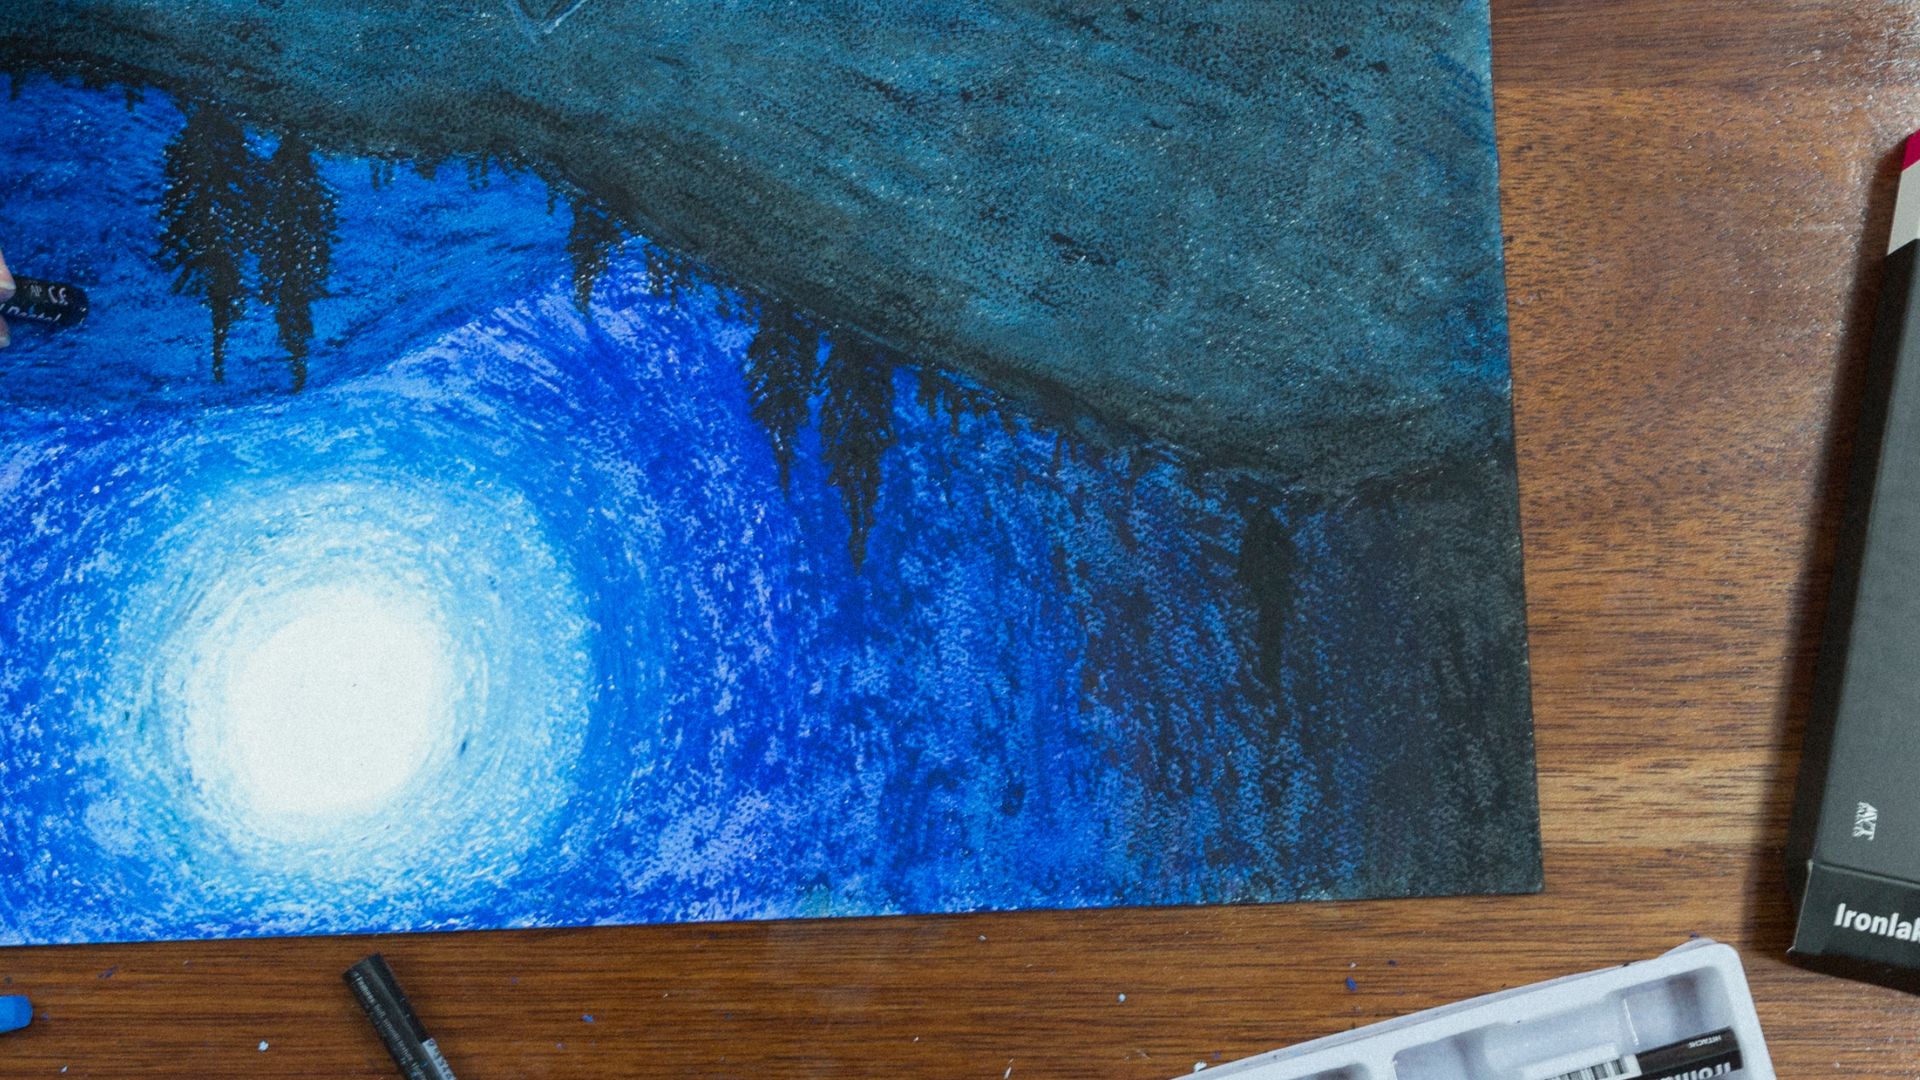
- Nightscape - a dramatic nightscape will be great fun to draw, and will really challenge your blending skills. While a real night sky is mostly black, feel free to get creative and use dark purples, blues and greys to show off your night sky, and don't forget a clean white to display the stars themselves.
- Forest - an enchanting forest is the perfect time to use all your soft pastel skills at once. You can go as muted or colourful as you want when drawing a forest - keep it neutral with earthy browns and refreshing greens, or add some pops of colour by depicting wildflowers, birds and animals as well. Illustrating light beams through the canopy will add a sense of depth to your art, as well as letting you put your dusting skills to the test!
Do I Need A Fixative For My Pastel Art?
If you want your soft pastel art to last, it's important to fix your pastel in place and protect it from damage.
Because excess pastel can come off of your artwork as dust, you may like to apply a fixative as you work to help keep your layers intact. This will also stop you blending any of your pastel accidentally! But be careful not to add too much fixative between layers, as they can create a texture that additional layers will just slide off of.
Once you have finished your artwork you can also apply a protective finish using an appropriate aerosol or pump spray. This will help protect it from UV rays and other weather-related damage. Keep in mind that protective layers can have gloss or matte effects on your artwork, so choose the effect you want for your work.

Find Beautiful Soft Pastels at Spotlight!
If you are ready to begin drawing with soft pastels, why not browse our extensive range online or at your nearest Spotlight store? We have a lovely range of hard and soft pastels, as well as oil pastels if you decide to dive even deeper into the world of pastel art.
You can discover our pastels in our drawing supplies category, where all are available for home delivery using your favourite payment option.


