 | ||
| Your browser is not supported. | ||
|
Please browse our site using any of the following options:
| ||
FISKARS SHRINK PLASTIC PERSONALISED NECKLACE

Level: Beginner
What you'll need:
- Fiskars Squeeze Punch (Circle, L)
- Fiskars Squeeze Punch (Heart, XL)
- Sizzix Surfacz Metallic Shrink Plastic (Silver, A4)
- Sizzix Surfacz Metallic Shrink Plastic (Gold, A4)
- Sizzix Surfacz Metallic Shrink Plastic (Rose Gold, A4)
- Crafters Choice Heat Gun Tool
- Crafters Choice Boxed Findings (Gold/Silver)
- Fiskars Hand Punch Circle, 0.16cm
- Fiskars Hand Punch Circle, 0.6cm
Instructions
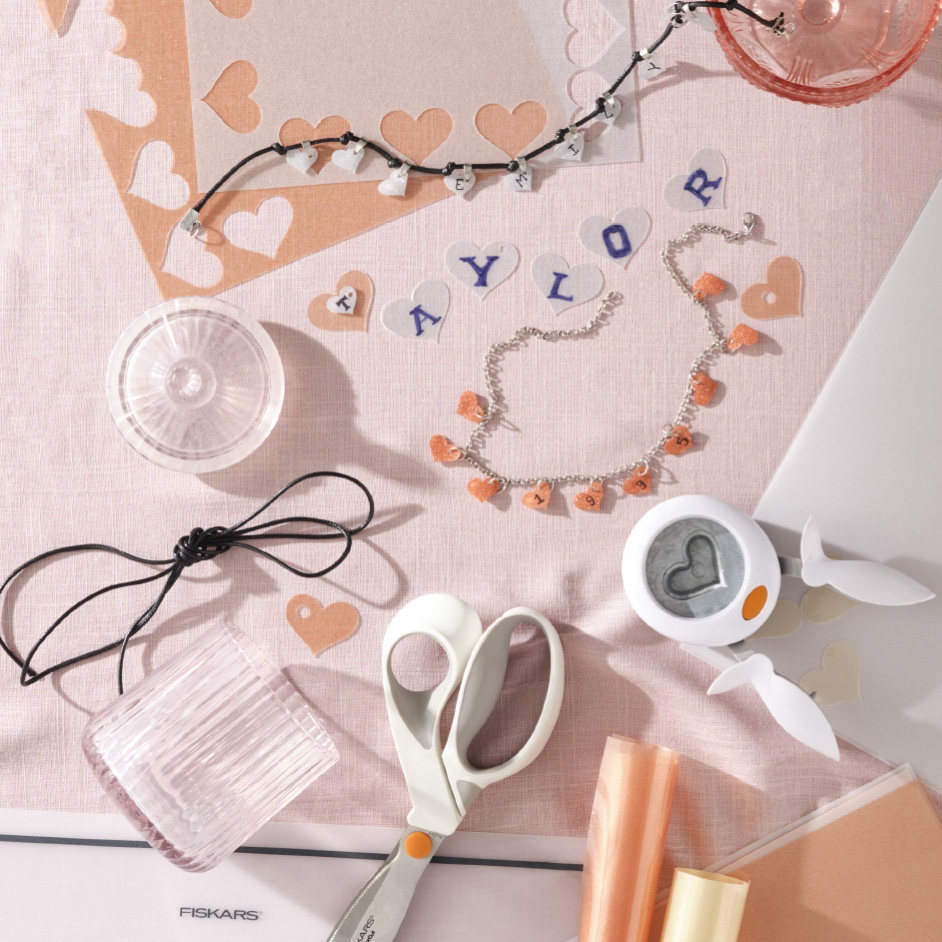
- First, Decide the colour and shape of your choker. Here we have used Circles and Hearts.
There is a variety of shrink plastics available at Spotlight- here we have used the Metallic shrink Plastic from Sizzix. - If you are writing a phrase, then it would be a good idea to start to count the number of letters there are. If the phrase has 3 words with 20 letters, then you will need 20 shapes and 2 blank shapes to break the words.
- Now using the Fiskars range of punches, cut out the shapes that you need.
- If you are writing letters, use a permanent marker to add letters and create words. Remember if you are using transparent Shrinkies the letters will flip, and the choker will only be used one way.
- Line up the shapes and punch a hole in each using the Fiskars handheld punch (0.6cm). The hole will shrink to roughly 0.15cm after shrinking.
- Set up your choker so that the design is lining up.
- Now lay down your Fiskars Silicone mat and put one shrink shape on it.
- Using the CC Heat Tool gun, start shrinking the plastic by evenly heating up the shrink plastic.
- Repeat steps 6 and 7 for every shape and keep lining up the shapes to form your Choker.
- Now using jewellery findings, construct your personalized choker!


