 | ||
| Your browser is not supported. | ||
|
Please browse our site using any of the following options:
| ||
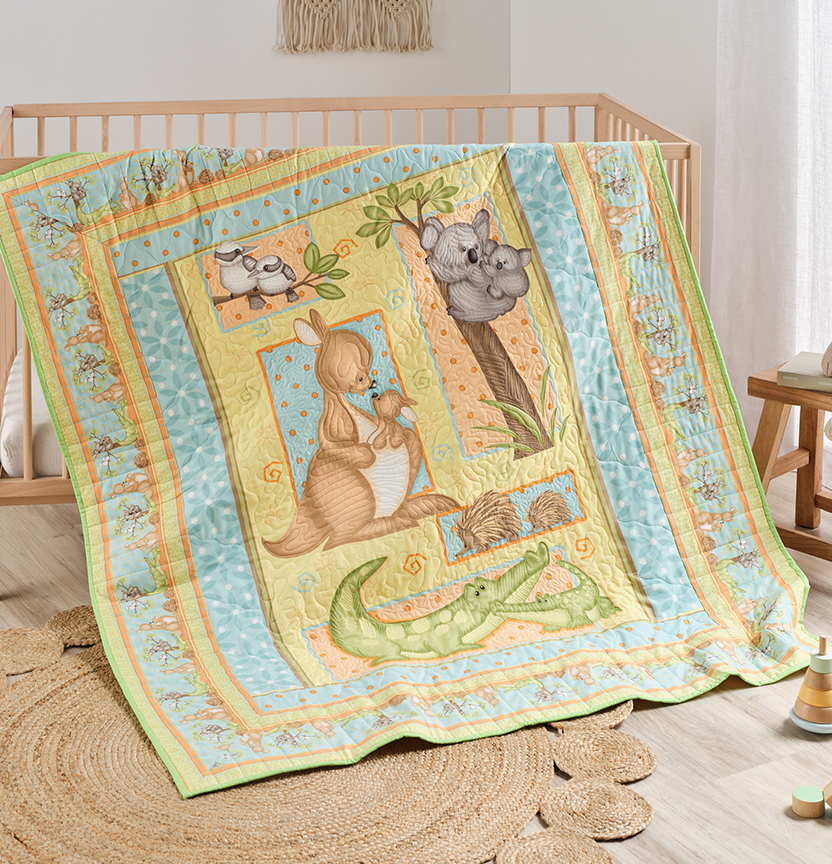
MUMMY & ME COT QUILT

Level: Beginner
What you'll need:
1.6 m Mummy & Me Border Stripe
50 cm Binding fabric (Cut at 2.5 inches and doubled over)
Instructions
Step 1 - Cut out your piece of panel fabric. You will need to allow the extra 1/4 inch seam allowance on the edge of the panel, so make sure to fussy cut this to exact measurements so you have a neat finish around all edges.
Step 2 - All border strips need to be cut to the side lengths of the panel and then add an additional 20 inches added onto each strip length. This will allow coverage for the full border that will incorporate the mitered corner.
Step 3 - Stitch all the borders on, starting and stopping 1/4 from each edge of the quilt corners.
Step 4 - Lay the quilt out flat and work your way around each edge.
Step 5 - Fold each strip back under at a 45-degree angle and mark the fabric where the sew line will go. First one side of the corner and then the next. Pin into place together and sew along the marked line. Press and move to the next corner.
Step 6 - Once all corners are complete. Sandwich and quilt together. When sandwiching your quilt always allow a good 10 cm larger on each side of the quilt. Once quilted, trim and bind.


