 | ||
| Your browser is not supported. | ||
|
Please browse our site using any of the following options:
| ||
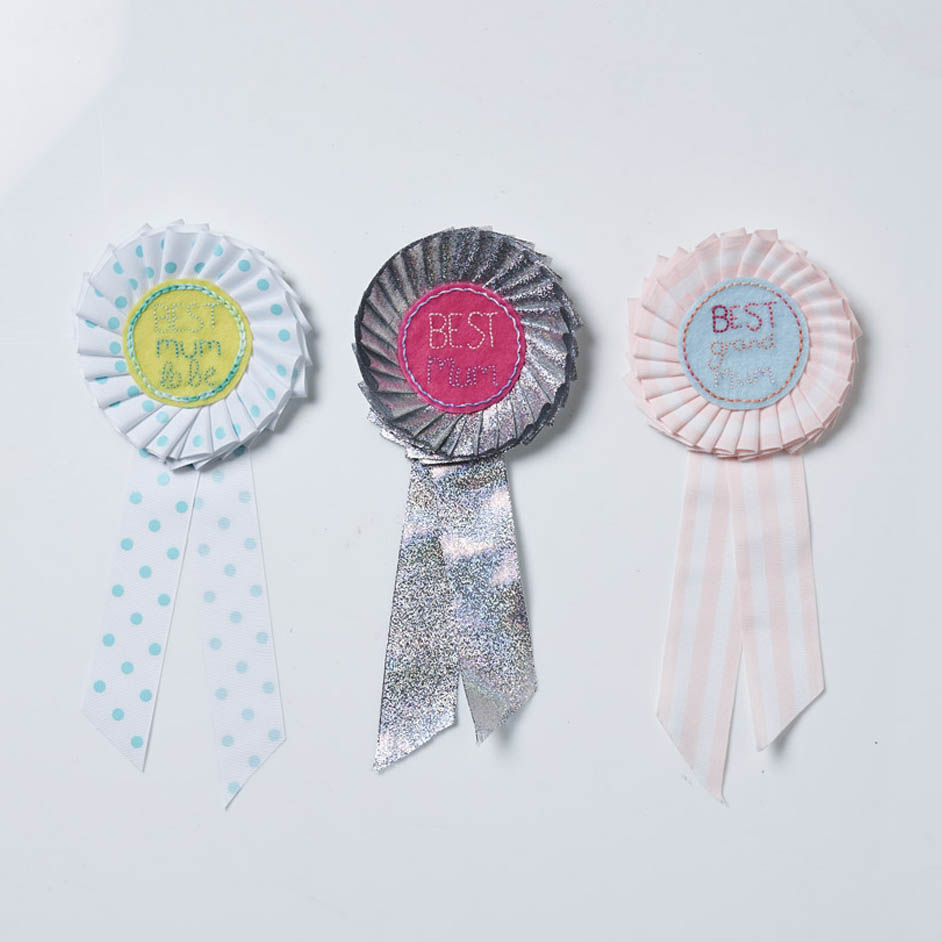
MOTHERS DAY RIBBON

LEVEL: EASY
WHAT YOU'LL NEED:
- Assorted Offray 1 and a 1/2 inch ribbons
- Assorted coloured Felt
- Pins
- Card
- Hot glue gun
- Scissors
- Felt
- Embroidery thread
- Needle
- Pencil
- Brooch pin
INSTRUCTIONS
Step 1.Start by deciding on the size of your finished piece. We chose a circle that had a diameter of 8cm. Draw this shape onto the card and cut out.
Step 2. Then unroll some of your ribbon and start pleating/ folding it on itself, pining every inch or so together with a pin.
Step 3. Continue this process using your cut out circle as a reference as to how much ribbon you need to pleat.
Step 4. Once you have pleated enough ribbon to go around the circumference of the circle, cut the ribbon leaving about an inch of un-pleated ribbon.
Step 5. Using a needle and thread, stitch the pleats down using large running stitches and sew the ends together so that the pleats create a complete circle.
Step 6. Cut 1 long piece of ribbon and fold in half to create the tails of the rosette. Then glue in place on the circle card template using the hot glue gun.
Step 7. Now glue the pleated ribbon circle in place onto the card as well.
Step 8. Trace around circle template onto felt and cut out.
Step 9. Draw lightly onto the felt your chosen design.
Step 10. Using the embroidery thread, embroider over your design with your choice of stitch - we used a simple back stitch.
Step 11. Once your felt is embroidered use the hot glue gun to glue the felt onto the face of the ribbon.
Step 12. To finish glue the brooch pin to the pack of the card with the hot glue gun.


