 | ||
| Your browser is not supported. | ||
|
Please browse our site using any of the following options:
| ||
PERSONALISED FACE MASK

Level: Easy
WHAT YOU'LL NEED
- Cricut Maker machine
- Rotary Blade attachment
- Cricut Design Space app
- Iron On Transfer roll
- 50cm of Cotton Fabric
- 50cm of elastic or trim/ribbon
- Sewing machine and matching thread
- Pins
- Safety Pin
- Iron and ironing board
INSTRUCTIONS
Step 1 - Log into the Cricut Design Space app or desktop. Search for the Free Explore Face Mask project and select the size you wish to make.
Step 2 - Follow the instructions and load your mat with your fabric and cut out all your pieces.
Step 3 - Gather all your pieces and press with the iron if necessary.
Step 4 - Match your pieces with right sides together and pin.
Step 5 - Sew together with a 6mm seam allowance. Snip into curved seams to help the seam lay smoothly once finished.
Step 6 - On the inner (shorter) piece, press the straight edges down 6mm. Stitch down close to the edge roughly 3mm.
Step 7 - On the outer (longer) piece, press the straight edges down 6mm then fold over and press again 1.3cm. Stitch along the pressed seam roughly 3mm to create the casing for your elastic.
Step 8 - Press the seam allowance of the curved edges to one side and top stitch in place on both sides.
Step 9 - Place the pieces with right sides facing in and sew together with a 6mm seam across the top and bottom edges.
Step 10 - Turn right side out and top stitch along top and bottom edges.
Step 11 - Take 50cm of elastic and place a safety pin through one end to help thread elastic through casing. Thread elastic through the bottom of one side and then down the top of the other and meet the end back in the middle. Sew ends of elastic together with a zig zag stitch and then move elastic to hide the join in the casing at one end of the mask.
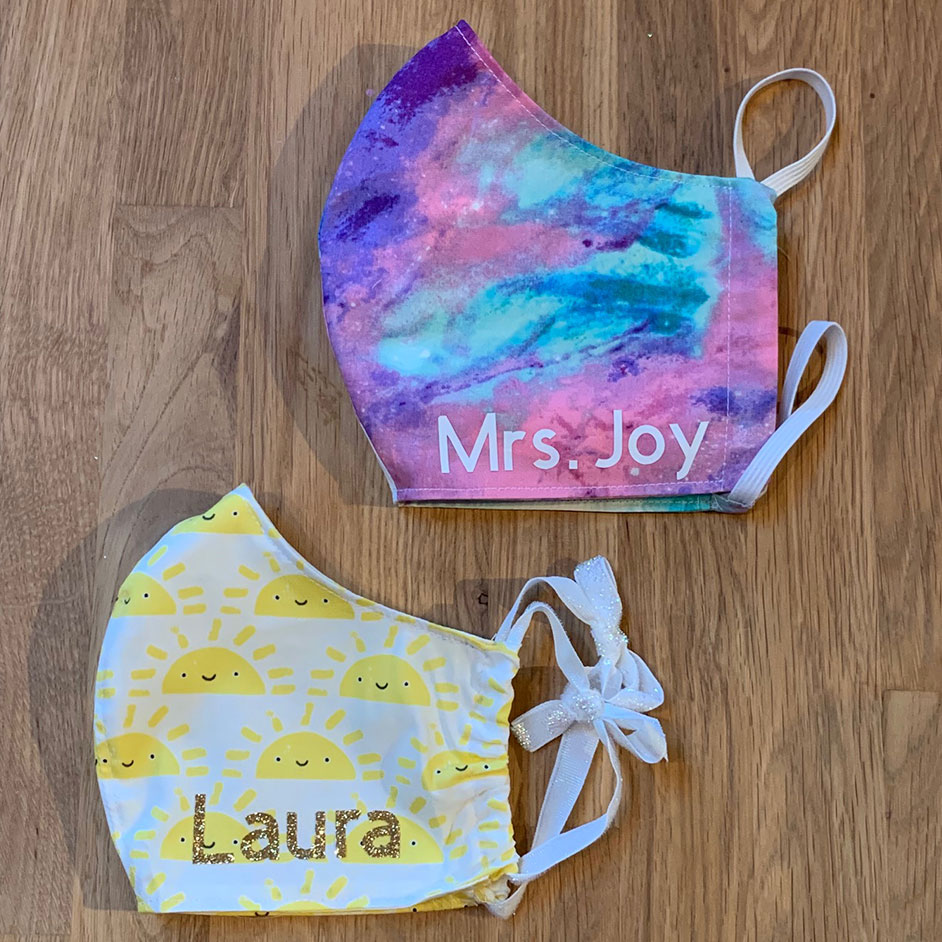
Step 12 - Open the Cricut Design space app again and design Name in the workspace using the text box button. Ensure to click the "Mirror" button before cutting your design so that the name will be the right way when cut.
Step 13 - Load iron on transfer paper with the shiny side facing down onto the mat and cut out.
Step 14 - Pull away the excess transfer paper. Heat the mask with the iron for 15 seconds to warm up the fabric. Then position your design onto the mask where you want it to be.
Step 15 - Press iron onto the design and hold for 15 - 20 seconds. Make sure your iron is set to Cotton or Linen setting and you do not use any steam. Turn mask over and press again on the backside for another 15 seconds. Remove clear sheet to reveal finished design.
Step 16 - Place tissue or filter inside mask between the 2 layers.
Step 17 - Repeat using the same Cricut project to create different sized masks for the whole class!


