 | ||
| Your browser is not supported. | ||
|
Please browse our site using any of the following options:
| ||
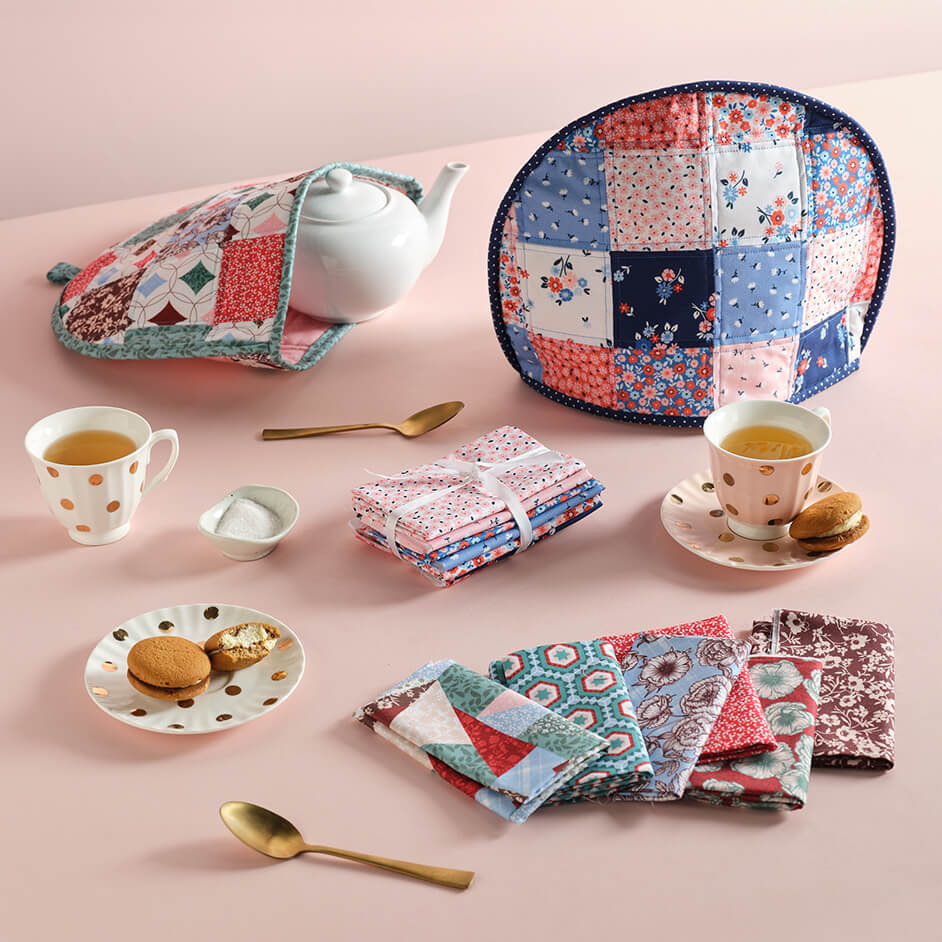
QUILTED TEA COSY

Level: Beginner
What you'll need:
Two 55 cm x 35 cm pieces of batting
Matching Gutermann 100% cotton thread
Rotary cutter, mat & quilters ruler
Quilting pins, tape measure
Scissors, seam ripper
Hand needle
Pilot Frixion marker
Cardboard for template
- Sewing machine with 1/4" foot & walking foot
1/4" seam allowance used throughout unless otherwise indicated.
Read all instructions carefully before commencing the project.
Instructions
Reference the downloadable project sheet for project pattern diagrams.
Cutting
Press all fat quarters.
- Select one fat quarter for the binding and cut 3 x 21/2" strips across the width and set aside.
- From each of the remaining 7 fat quarters, cut 1 x 31/2" strip across the width of the fabric, crosscut strips into 31/2" squares.
- From remaining fabric select two designs for the lining of your tea cosy, one for front and one for back. Cut each into a 21" x 14" rectangle.
Patchwork Fabric
Step 1 - Front Arrange assorted 31/2" squares into 4 rows with 6 squares in each row.
Step 2 - Sew blocks together in each row. Press seams in one direction alternating the direction in each row.
Step 3 - Sew rows together matching seams. Press seams in one direction.
Step 4 - Back Repeat Steps 1-3 to create the patchwork fabric for the back of the cosy.
Quilting
Step 5 - To create a patchwork sandwich layer as follows - front lining fabric right side down, one rectangle of batting on top, then patchwork front right side up on top. Baste if desired.
Step 6 - Attach walking foot to machine then quilt 1/4" from each seam line or as desired.
Step 7 - Repeat Steps 5-6 to create the patchwork fabric for the back of the cosy.
Tea Cosy
Step 8 - Refer to pattern image with measurements to create your template and cut out.
Note - This template shows half the size of the tea cosy.
Step 9 - To cut out, take the quilted front rectangle and place the long straight (101/2") edge of the template along the centre seam with the 71/2" bottom edge 3 1/4" up from the bottom edge. Trace around the template using the Fixion pen. Flip the template over with long straight (101/2") edge along the centre seam and top and bottom edges aligned with the lines drawn on the other side. Trace around the template using the Fixion pen. Cut out the front of the tea cosy.
Step 10 - Repeat Step 9 for the back of the tea cosy.
Step 11 - Place front and back of tea cosy together with wrong sides facing. Clip around together around the edge using wonder clips (because of the thickness these are much easier to use than pins). Starting at the bottom edge on one side sew together around the outer curved edge finishing at the bottom on the other side.
Binding
Step 12 - Take the 3 x 21/2" binding strips and join together on the bias to make one long strip. Press in half lengthwise. With front-facing and starting at the bottom edge on one side clip binding to the curved edge with raw edges aligned. Sew in place and trim off excess binding. Turn binding to back and clip to hold in place. Stitch in the ditch from front to secure binding at the back or if preferred hand stitch.
Step 13 - To bind bottom edge start in centre back and with right side facing and raw edges aligned sew binding to edge securing ends in as per quilt binding. Turn binding to back and clip to hold in place. Stitch in the ditch from front to secure binding at the back or if preferred hand stitch.
Step 14 - Top Tab (Optional) Cut a 2" x 4" strip of binding fabric. Fold in half lengthways with right sides together and sew. Turn right side out, fold raw ends in and press. Place one end across stitching for binding at the top and sew in place to secure. Fold the other end over the top, place end over stitching line from binding at the back and sew to secure.


