 | ||
| Your browser is not supported. | ||
|
Please browse our site using any of the following options:
| ||
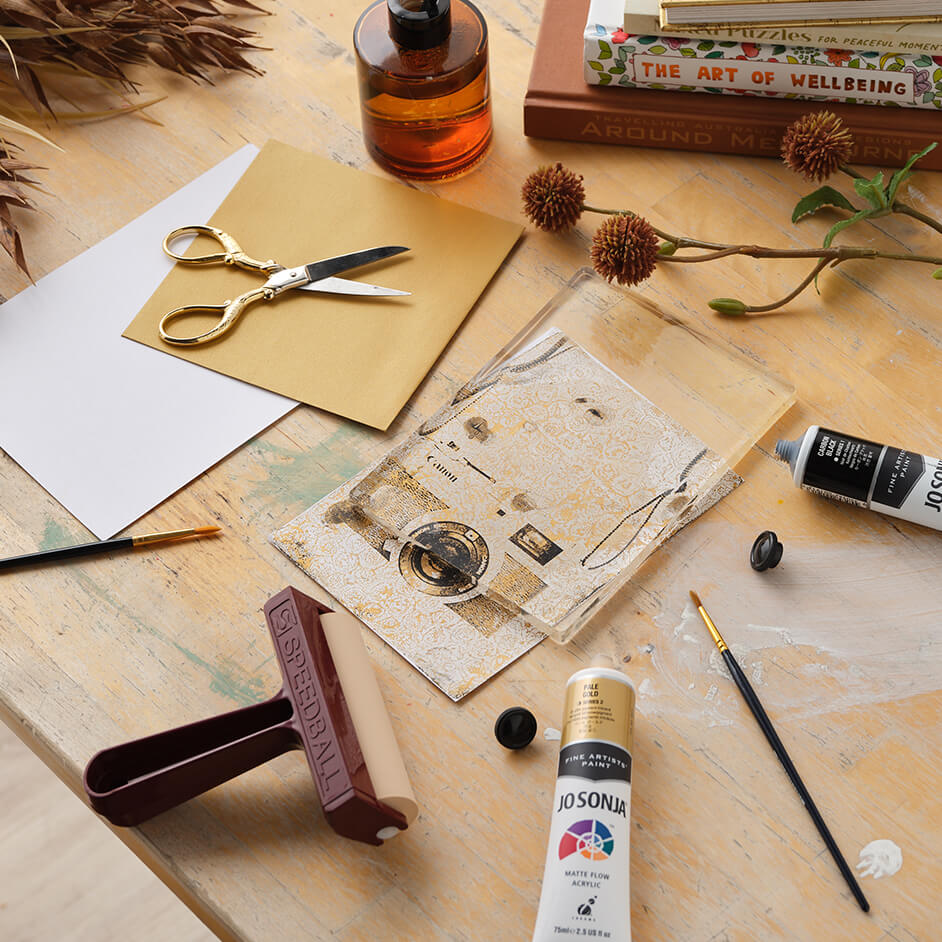
GEL PRESS VINTAGE CAMERA MONOPRINT PROJECT

Level: Beginner/Intermediate
What you'll need:
- 5x7 Gel Press gel plate
- Soft Rubber Brayer
- Jo Sonja Acrylic Paint
- Titanium White
- Black
- Rich Gold
- A4 White cardstock (smooth)
Instructions
Reference the downloadable project sheet for project pattern diagrams.
Step 1 - Print a photograph of an image of an old vintage camera.
Tip - Print the photograph in black and white, using a Laser printer onto digital gloss paper.
Step 2 - Apply a light base layer of Black acrylic paint (Jo Sonja) onto your Gel Press plate.
Tip - Use your brayer to evenly spread the paint to cover the Gel Press plate.
If you are using your Gel Press plate for the first time, it is recommended to apply an initial layer of paint and then remove it. To remove the initial first layer of paint, simply keep rolling your brayer over the plate - this helps to prime your plate. Remove excess ink by rolling your brayer onto a scrap piece of paper.
Step 3 - Once you have primed your plate and then evenly applied a thin layer of Black paint, allow the paint to dry for approximately 1 minute.
Step 4 - Place the image of the Vintage Camera print face down onto the black paint on the Gel Press plate. Rub the back of the image firmly and then rub evenly over with the brayer.
Tip - Leave the image in place for approximately 1 minute to allow time for the ink to transfer.
Step 5 - Slowly lift the paper and remove the Vintage Camera page from the Gel Press Plate.
Tip - The Image of the Vintage Camera should have dried and transferred onto the Gel Press Plate.
Step 6 - On top of the Vintage Camera Image which has transferred onto the Gel Press Plate, evenly apply a light layer of Rich Gold acrylic paint (Jo Sonja) onto your Gel Press plate.
Tip - Approximately 4 drops of paint is good amount and remember to spread the paint evenly using the brayer. Remember to remove any excess ink from the brayer by rolling it on a scrap piece of paper.
Step 7 - Immediately after applying the Rich Gold paint, using bubble wrap (or a textured surface) press down gently onto the Gel Press plate and then remove the bubble wrap.
Tip - Once the bubble wrap is removed, allow the paint to dry for approximately 1 minute.
Step 8 - On top of the layer of Rich Gold paint, evenly apply a light layer of Titanium White acrylic paint (Jo Sonja) onto your Gel Press plate.
Tip - Approximately 4 drops of paint is a good amount and remember to spread the paint evenly using the brayer. Allow to dry for approximately 30 seconds.
Step 9 - Place a clean piece of white cardstock over the Gel Press plate and rub the back of the cardstock firmly and then rub evenly over with the brayer.
Tip - It does not matter if paint from the brayer transfers onto the cardstock, as this will be the back of your print. Leave cardstock in place to allow to dry for approximately 1 to 2 minutes.
Step 10 - With the cardstock still in place, turn the Gel Press plate over and lie flat so the cardstock is underneath the Gel Press plate. Slowly lift and peel the Gel Press plate off from the cardstock to reveal your Vintage Camera Monoprint.
Tip - Each print is unique and no 2 prints will be identical.


