 | ||
| Your browser is not supported. | ||
|
Please browse our site using any of the following options:
| ||
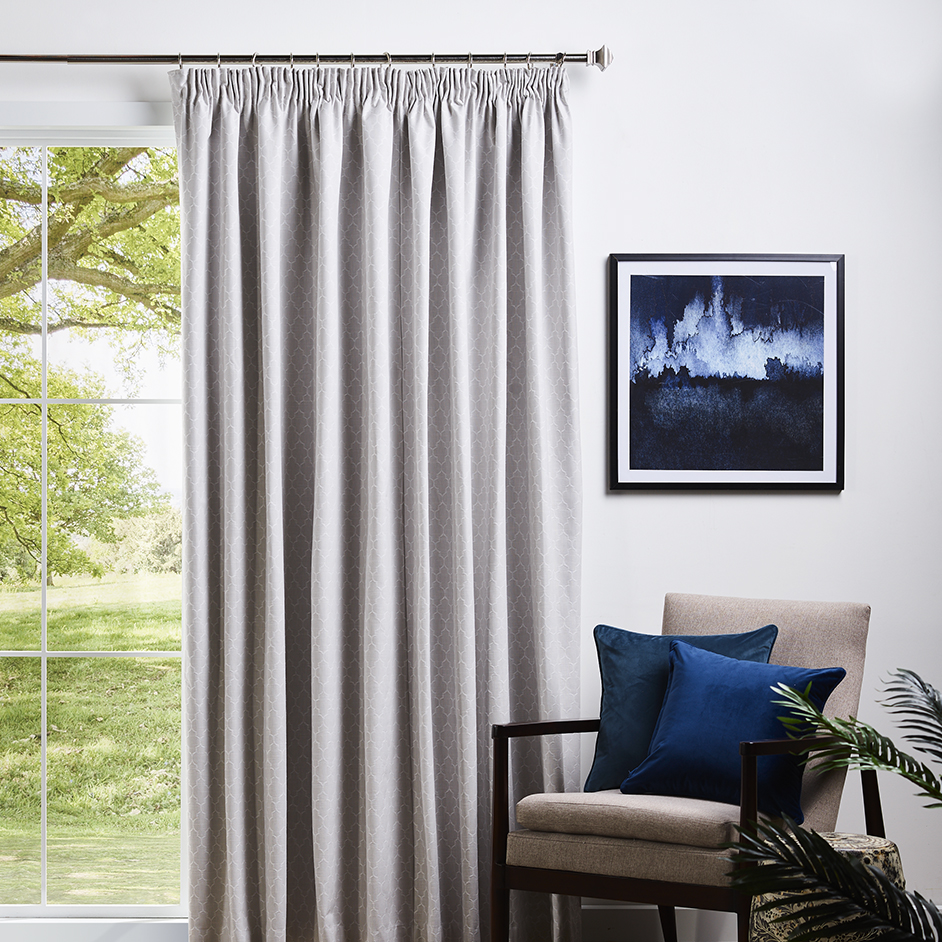
BLOCKOUT PENCIL PLEAT CURTAINS

Level: Easy
WHAT YOU'LL NEED
- Elegance mellow b/out grey 140cm
- Thread to match
- Pleat or curtain tape (width of tape depending on width of the window)
- Scissors
- Ruler or measuring tape
- Pins
- Dressmaking square
- Tailor's chalk or pencil
Note- Before heading into your Spotlight store, prepare yourself by reading our 'Curtain Fabric Calculation' guide.
INSTRUCTIONS
Step 1- Measure width and drop of your window. Pencil pleat fullness is required 2.5 x the width of your window. Also, add at least a 30cm allowance to each drop for bottom and top hems.
Step 2- Ensure the fabric is square by using a dressmaking square or lining it up against the edges of your table.
Step 3- Based on the measurements 2.5 times width of your window, cut across the width of the fabric. You may wish to use a chalk line to ensure a straight edge. Continue measuring and cutting the remaining drops.
Step 4- Before sewing the curtains together, it is best to remove 5-10mm of the selvedge (i.e. edge of the fabric). Cut all the selvedge's from each drop. A rotary cutter and a steel ruler will help you to ensure a straight edge.
Step 5- Sew together multiple drops to make your curtain, place two drops with right sides facing together. Pin into place and sew along the long edge.
Note- If the curtains are to open in the centre, sew an even amount of drops together for each side. If there is an odd number of drops, one drop may need to be split in half lengthways. Sew the half width to the outside of each side for a neater finish.
Step 6- Sew the side seams by turning over the sides x 3cm. Pin and stitch in place 2mm from the inside edge. Top edge by turning over the fabric x 2cm. Pin and stitch in place 2mm from the inside edge.
Step 7- Attaching pencil pleat tape. Place the pencil pleat tape over the top edge seam that you have pressed. Position at 0.5cm from the top fold.
Step 8- Stitch the tape to the curtain by sewing both along the top and bottom edges.
You will need to do a continuous stitch along the length of the tape keeping 2mm in from the edge. Stitch along outside edges ensuring strings are not caught in the stitch line.
Step 9- To finish the hem, lay the curtain on large flat surface. Measure the drop from the top of the curtain and mark with chalk or pins. Remember, the pleat tape and its hooks are designed to sit in the middle of curtain track, so measure your drop from the track to the floor and mark the distance on your fabric from the middle of your pleat tape.
Step 10- The excess should be around 20cm. Fold excess over twice x 10cm to form a double hem. Stitch the hem in place 2mm in from the top edge. Stitch the sides of the hem to close.
Step 11- Finally, you'll need to attach your hooks to your pleat tape to hang your curtains. 28mm gather hooks are ideal for curtain tracks and 32mm gather hooks are suitable for rod sets with rings. Attach the hook by sliding the prongs upwards into the slots in the tape. Ensure the prongs are spaced evenly, according to how many hooks you need on each end of your track or rod. Ideally every 10cm across. Once hooks are attached, your new curtains are ready to hang.


