 | ||
| Your browser is not supported. | ||
|
Please browse our site using any of the following options:
| ||
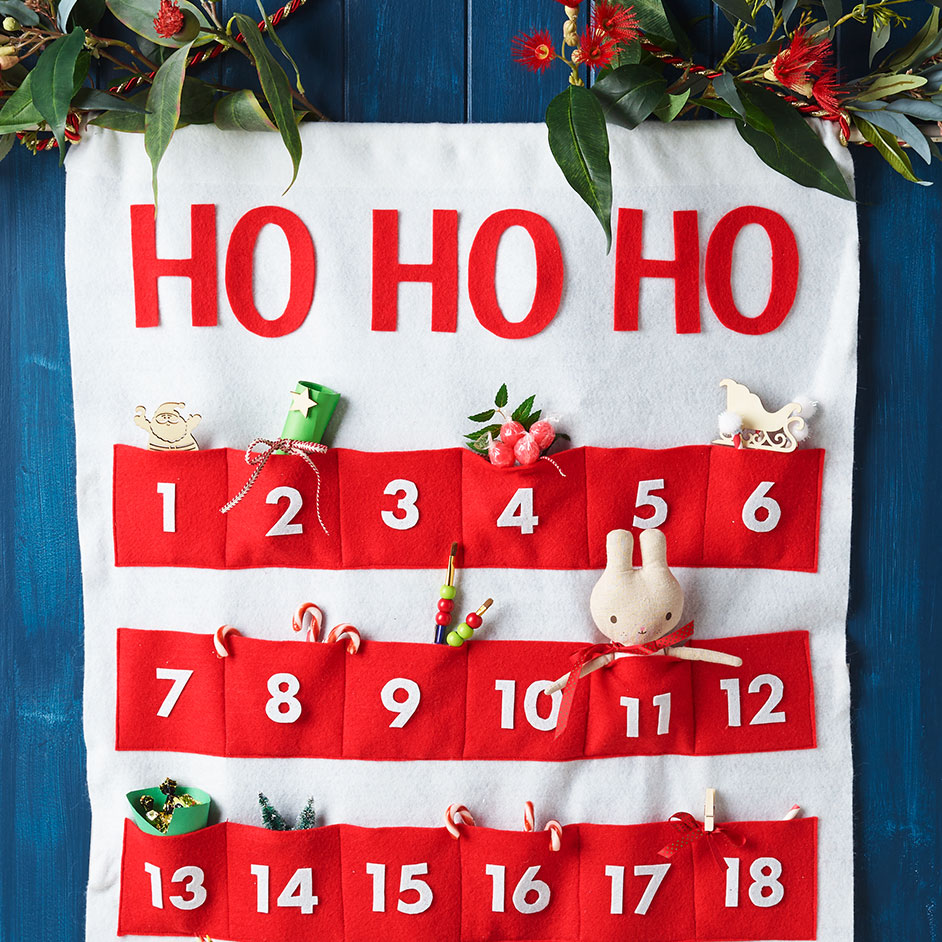
FELT ADVENT CALENDAR

LEVEL: EASY
WHAT YOU'LL NEED:
- Plain 90 cm Acrylic Felt Fabric - White - 65cm
- Plain 90 cm Acrylic Felt Fabric - Red - 60cm
- Glitter Felt sheet White
- Fabric Glue
- Dowel (at least 70cm long)
- General sewing supplies
Instructions
Step 1- Using pins, mark the following measurements on your white felt piece (90x65cm)
Step 2 - Fold the top edge of the felt down to the first 10cm line towards the back and sew along using white thread. This creates the pocket for the dowel to hang your calendar.
Step 3 - Cut 4 x rectangles from the red felt piece measuring 10x60cm. pin one of these rectangles into the first 10cm section, centring so there is equal white space either side. Mark out 10cm sections on the red rectangle with pins. You should get 6 x 10cm squares.
Step 4 - Using red thread sew around the sides and bottom edge of all the red felt. Sew each 10cm section from top edge to bottom sewing line, being sure to back stitch and the start and end.
Step 5 - Repeat for the remaining 3 red felt sections. Using the pins you marked in Step 1 as a guide.
Step 6 - Cut out numbers 1-24 from the white glitter felt sheet. Glue these onto the pockets you have created.
Step 7 - Cut out 3x H's and 3x O's from the remaining red felt. Glue these centred into the 20 cm white section at the top of the advent calendar.
Step 8 - Insert dowel into the top pocket and tie decorative ribbon or cord to each end for hanging.


