 | ||
| Your browser is not supported. | ||
|
Please browse our site using any of the following options:
| ||
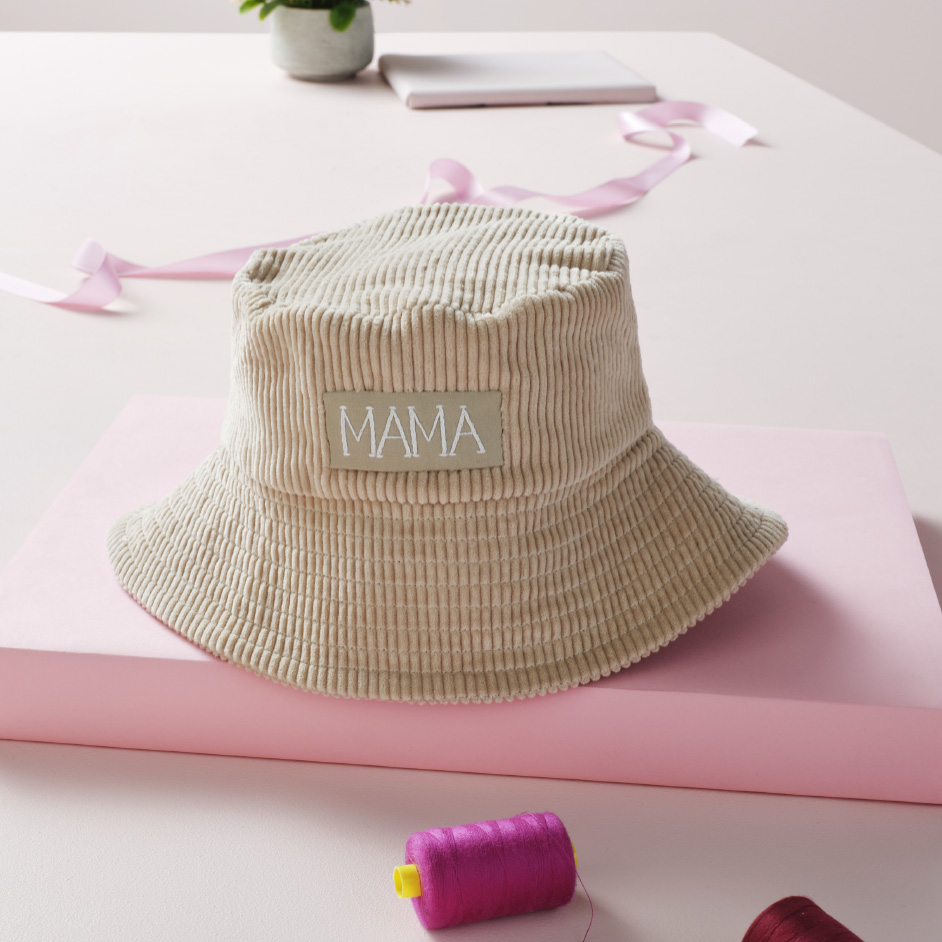
CORD BUCKET HAT

Level: Beginner
What you'll need:
- Main fabric: 0.50 cm Corduroy
- Lining fabric: 0.20 cm Cotton fabric
- Lightweight fusible interfacing for brim (Optional)
- Printable Template
- Matching thread
- Sewing machine
- Iron
- Scissors
- Quick unpick
- Sewing needle
- Patch or embroidered letters
Instructions
Reference the downloadable project sheet for project pattern diagrams.
Cutting
All seam allowances 1 cm
Cut the pattern pieces from your Main fabric. Cut the crown and sides from a coordinating or contrast cotton fabric for lining.
Interface the brim of the hat using a lightweight fusible interfacing.
Main Hat
Place side pieces right sides together, then sew down both sides.
Press seam allowances open.
Place brim pieces right sides together then sew down short sides.
Press seam allowances open.
Pin top sides to crown, right sides together and matching notches & side seams.
Sew the sides to Crown Top easing as you go.
Clip around seam allowance to create a smoother curve.
Pin the top edge of the brim around the bottom of the sides, right sides together and matching side seam and notches.
Sew brim to the sides of hat easing as you sew. Clip curves.
Lining
In the lining side pieces sew top and bottom of one seam so that when everything is put together there is a gap left for turning the hat right side out.
Sew the lining crown and sides together in the same way as the Main pieces.
Then the brim to the sides.
Assembling
Pin the main hat and lining together at brim right sides together.
Place the main hat and lining hat right sides together, matching side seams and notches.
Sew around the outer edge. Clip curves.
Turn right side out through the gap you left open in the side seam. Hand slip stitch opening in the lining of the side seam closed.
Top stitch around the outer edge of the Brim, close to the edge.
Using the edge of your presser foot as a guide sew around the brim to create rows of stitching around the brim until you reach the top where the brim meets the sides.
Optional Extra
You can now hand stitch a patch to the front of your bucket hat.


