 | ||
| Your browser is not supported. | ||
|
Please browse our site using any of the following options:
| ||
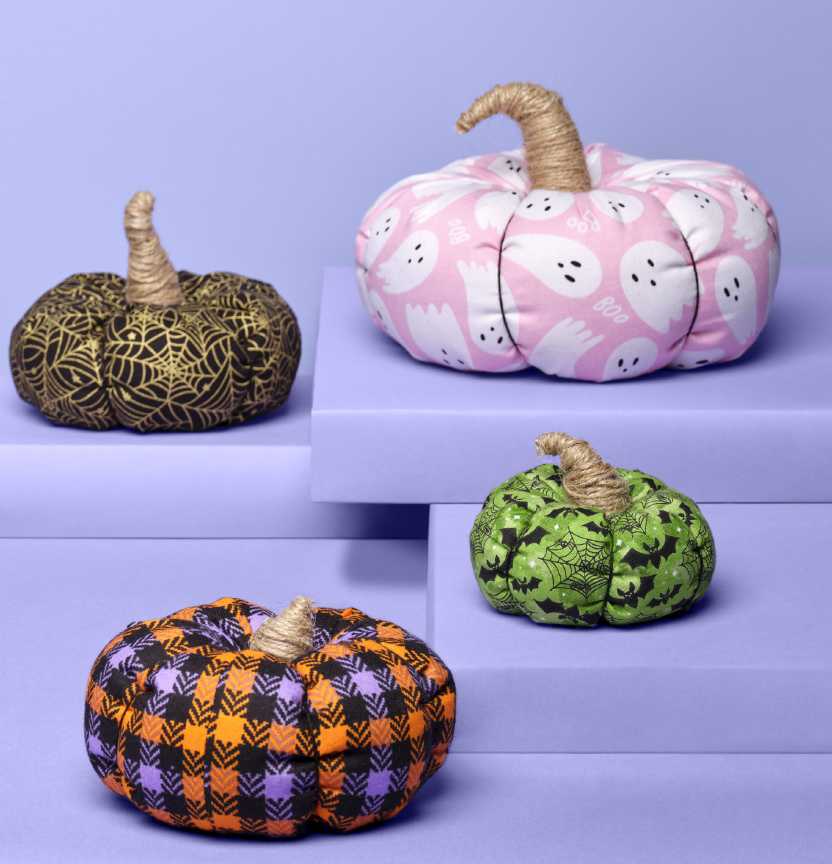
FABRIC PUMPKINS

Level: Easy
What you'll need:
- Halloween fabrics
- Hobby fill
- Jute cord
- Crochet cotton thread
- Foil
- A bottle cork, or something of similar shape and size
- Hot glue gun and glue sticks
Instructions:
Step 1 - Cut your fabric into a rectangle based on the size pumpkin you want to make.
Cut fabric size | Approx. Finished pumpkin size | |
Small | 6"x13" | 2" high X 4" wide |
Medium | 8"x18" | 4" high X 6" wide |
Large | 10"x 24" | 6" high x 8" wide |
Step 2- Fold your fabric in half (along the longest side), right sides together, and stitch using a 1/4" seam allowance.
Step 3- Hand stitch a wide basting stitch along the bottom of the tube. Gather the bottom up so it is tightly closed and sew a few stitches to secure the bottom.
Step 4 - Flip the fabric right side out and stuff your pumpkin using hobby fill. Sew a basting stitch along the top and close it the same way as the bottom. Pull the top closed and add a few stitches to secure it.
Step 5 - Wrap the piece of crochet thread or twine around the pumpkin to make 6 or more sections (whatever looks best to you.) Wrap it tightly and tie it off on the bottom.
Tip: You can cover the knots at the bottom by using hot glue to attach a small circle of felt.
Step 6 - Cut a rectangle of aluminum foil that is about twice the height of your cork. Wrap the cork in the foil, and shape the top into a point, you can shape the foil in whatever direction you like. Using hot glue, carefully wrap the foil in jute cord, ensuring you have can't see any of the foil.
Step 7 - Attach the stem to the top of the pumpkin using hot glue.


